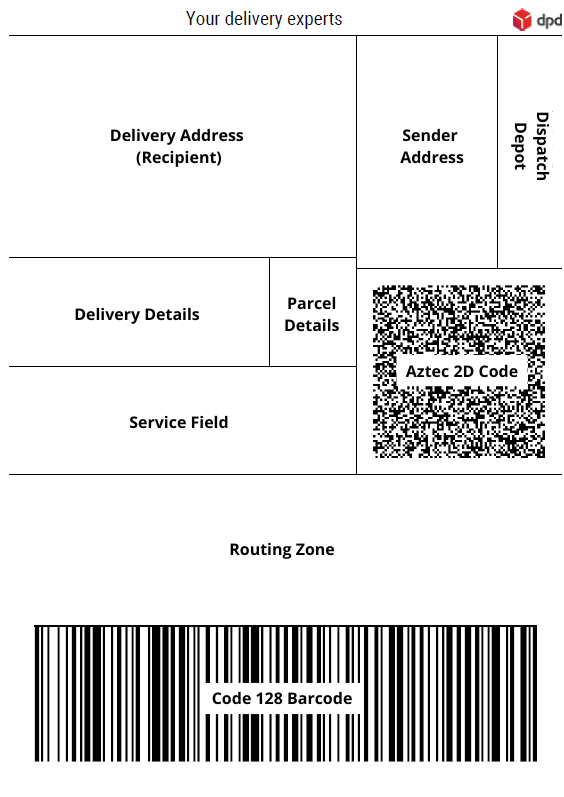
Detailed explanation of the different sections within a DPD Parcel Label.
DPD Parcel Label
Information about the DPD Parcel Label
-
DPD Parcel Label
The DPD parcel label is the logistical basis of shipping parcels. Therefore it is important that the labels are correctly created and readable (good printing quality). When using one of our standard shipping solutions (DPD Shipper Central, DPD Shipper Local or DPD Shipper Webservices), your label will always have the latest specifications.
This page will give a detailed explanation of the different sections of the DPD parcel label.
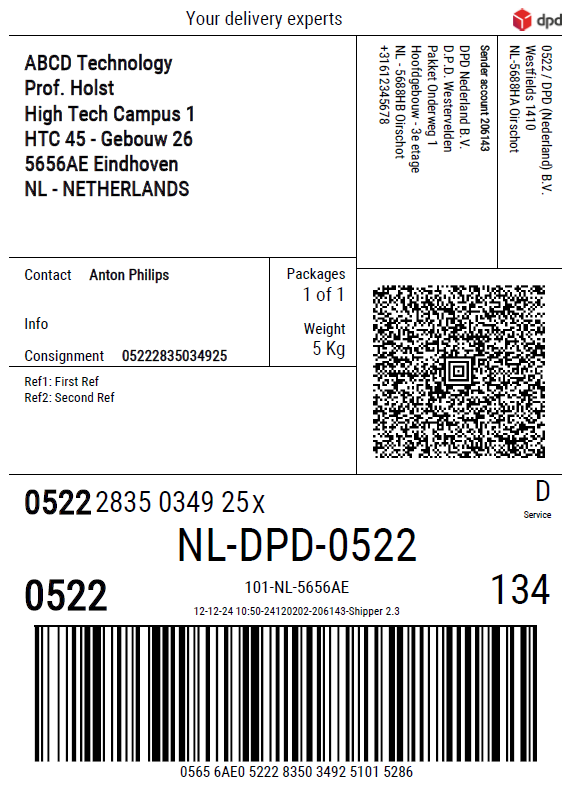
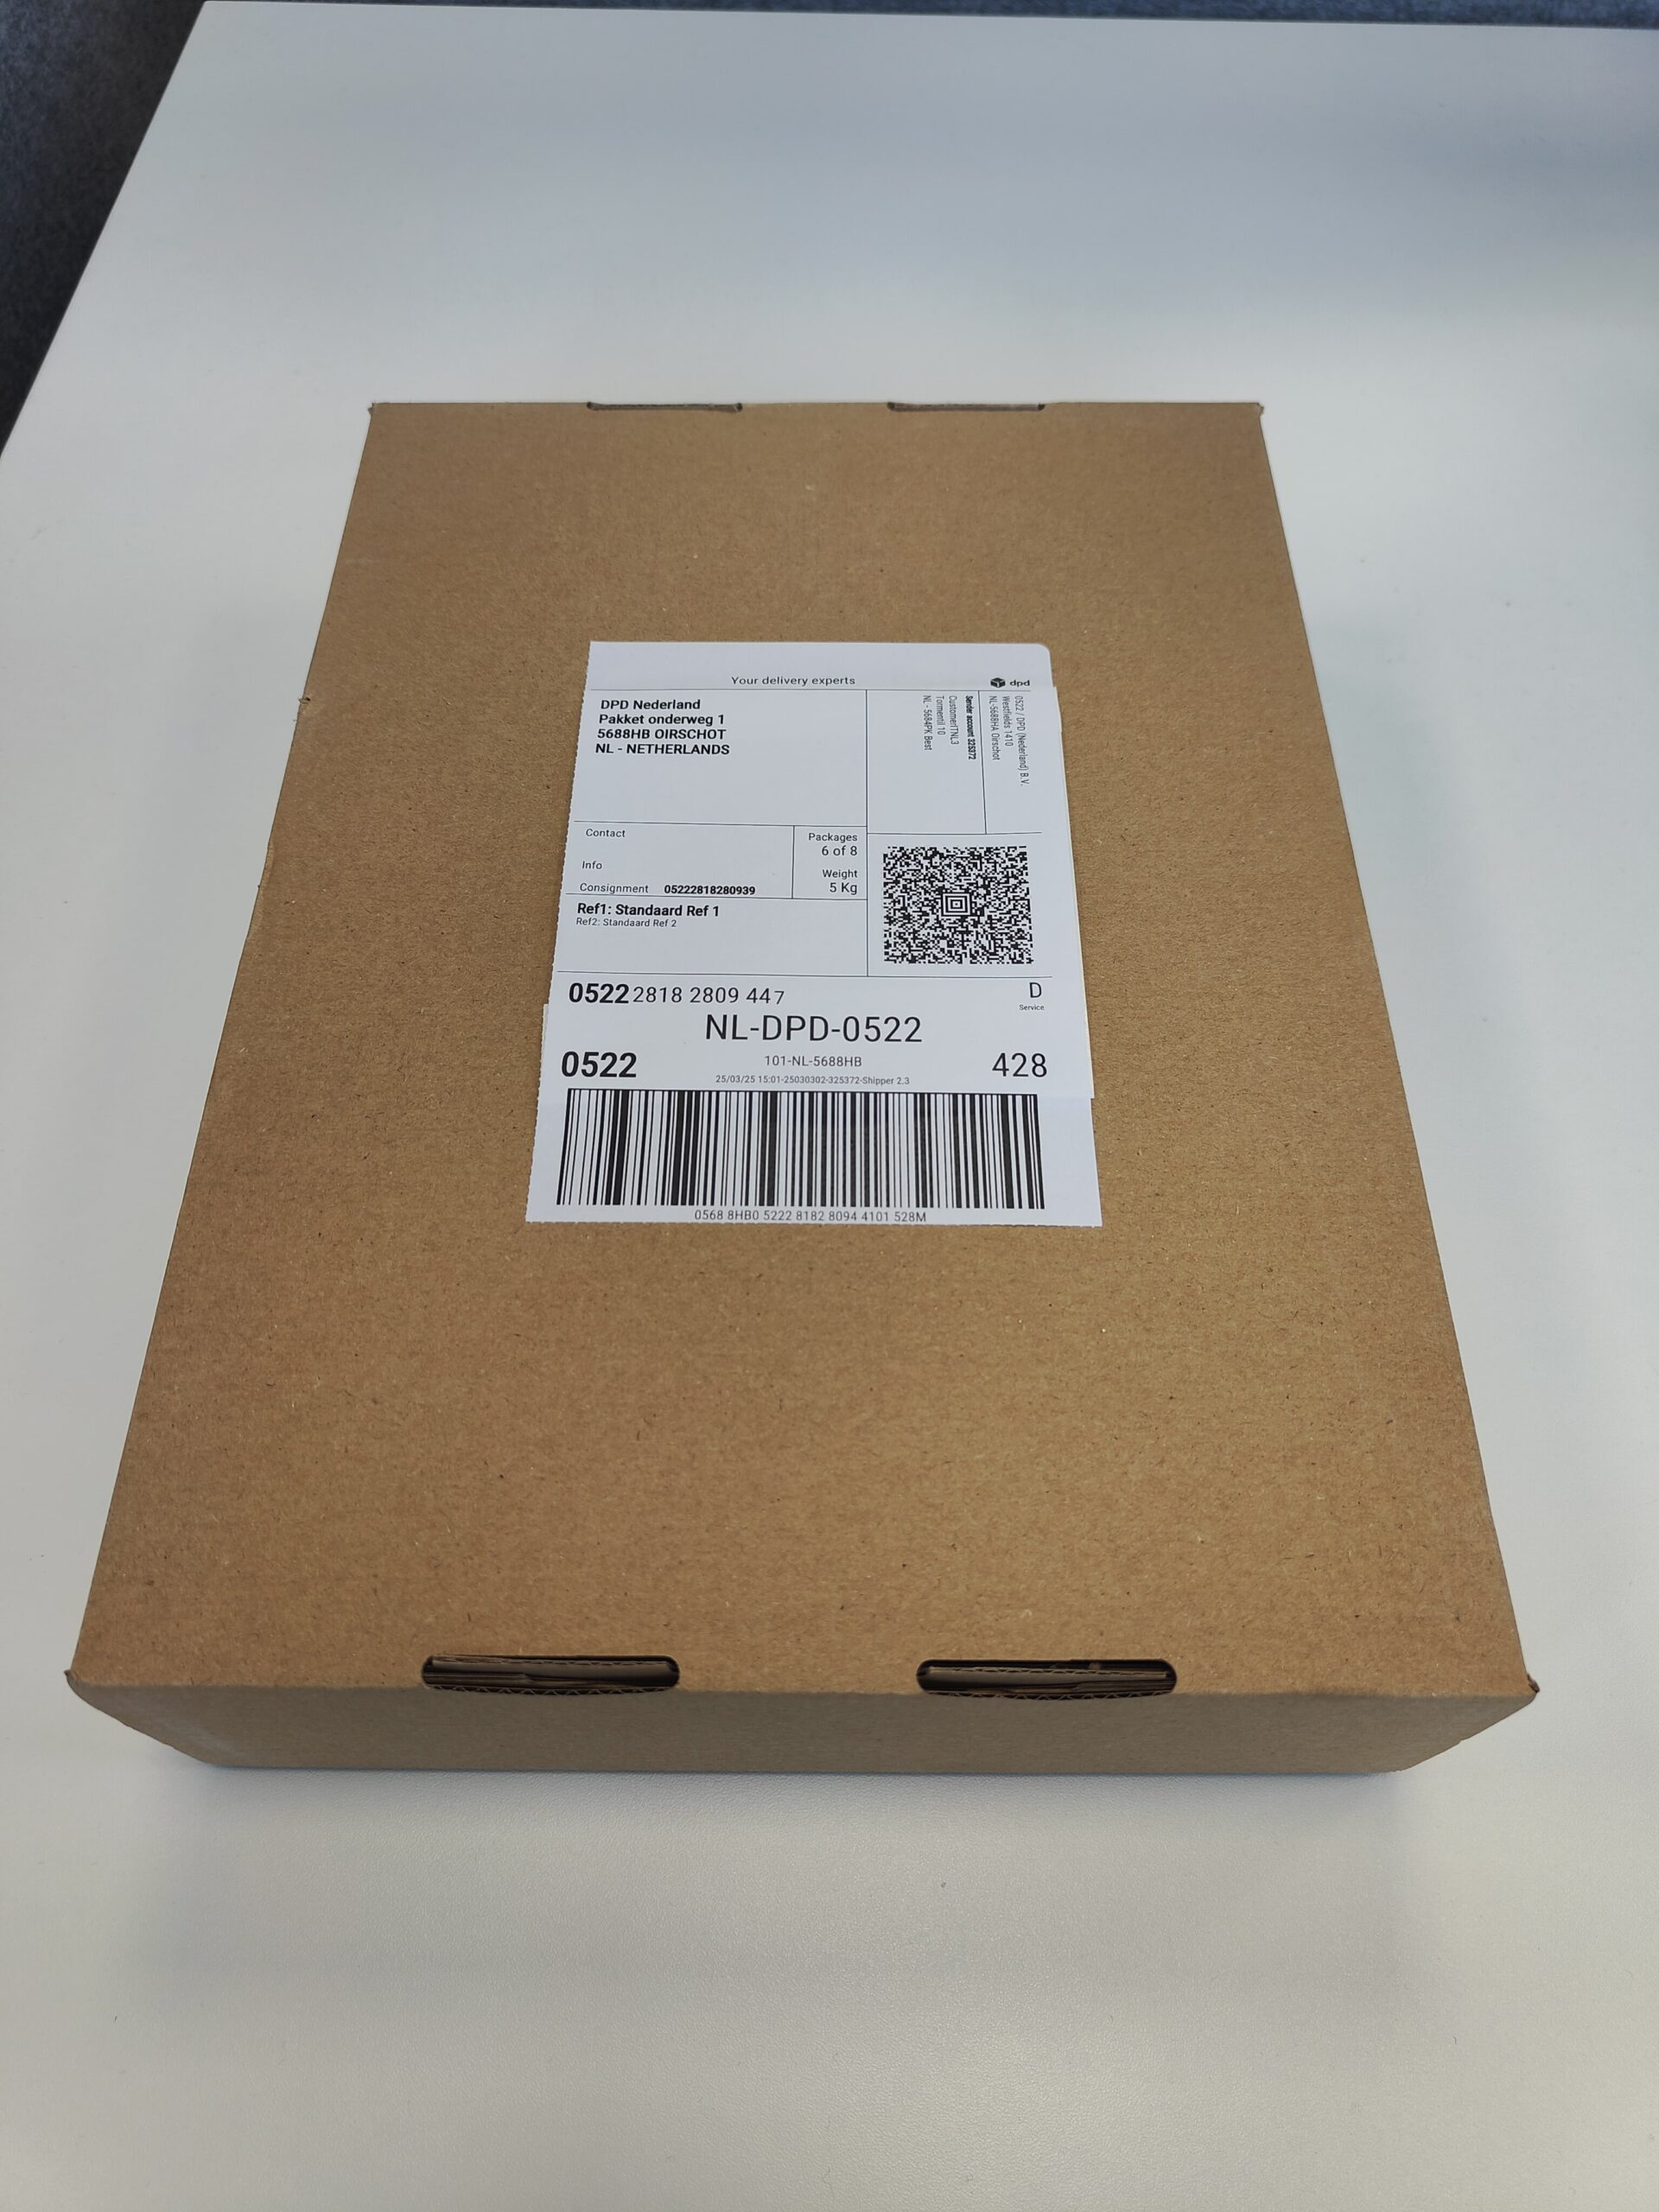
Below the label with the different sections and how it looks like filled in.
-
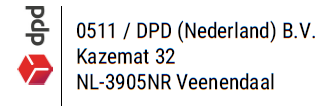
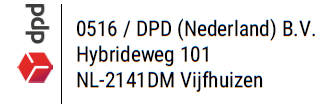
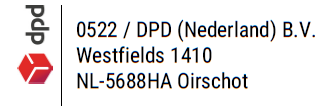
Dispatch Depot
This section will show the dispatch depot of the parcel. The dispatch depot is based on the location of your pickup address. The information of the dispatch depot is automatically filled and cannot be altered.
Examples of dispatch depots on the parcel label for DPD Nederland.

-
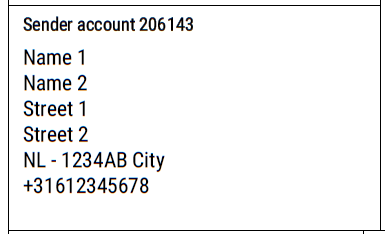
Sender Address
The sender address is the address of you as sender. In general, it is the same address as your pickup address. It can also be a masking address for the label. This address must be a physical address, not a P.O. box.
The following fields are listed in this section:
- Sender Account Customer Number
- Name 1
- Name 2
- Street 1 – including house number
- Street 2
- Country / ZIP Code / City
- Phone Number
Example of the data fields and how it looks like filled in with an actual sender.

-
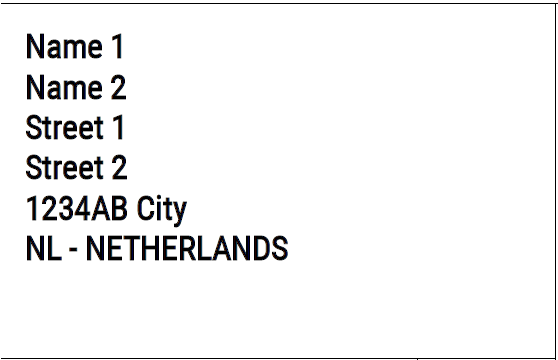
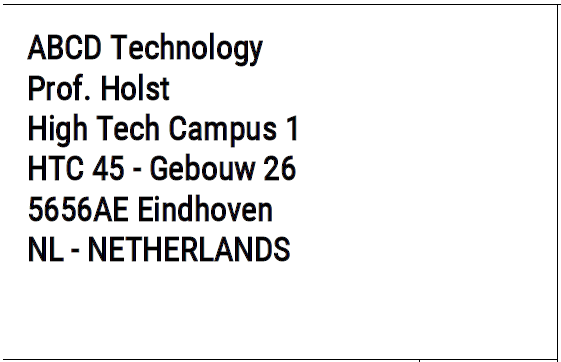
Delivery Address (Recipient)
The delivery address is the address of the recipient. This address must be a physical address, not a P.O. box.
The following fields are listed in this section:
- Name 1
- Name 2
- Street 1 – including house number
- Street 2
- ZIP Code / City
- Country
Example of the data fields and how it looks like filled in with an actual recipient.
-
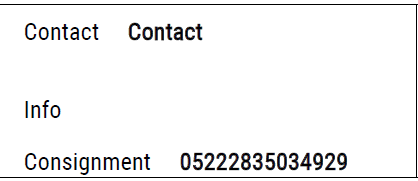
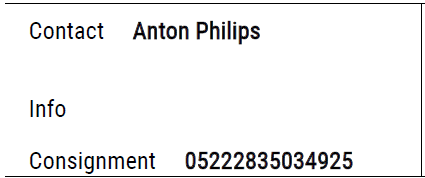
Delivery Details
This section shows some extra details about the delivery/recipient. It mainly consist of two filled in fields:
- Contact
- Consignment (=parcel number)
Example of the data fields and how it looks like filled in with actual details.
-
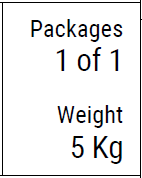
Parcel Details
This section gives information about the amount of parcels within the shipment and the weight of the parcel.
- Packages
- Weight
Example of the filled in data fields.
-
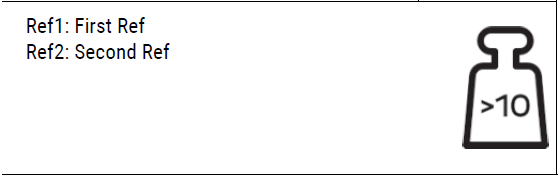
Service Field
Within the service field, you’ll find reference 1 and reference 2. But also the weight notation for heavy weight shipments to Germany.
- Parcel Reference 1
- Parcel Reference 2
- Customer Reference 1 (not if printed via DPD Shipper Central/Local)
- Customer Reference 2 (not if printed via DPD Shipper Central/Local)
- Weight Notation Germany
Example of the filled in data fields, including the weight notation for a heavy weight shipment to Germany.
-
Routing Zone
This section describes the routing zone of the label. This area contains the eye readable information that DPD need to operationally handle the parcel. This information is being compiled by the routing database.
Not every label has all data fields. This depends on the service and destination of the parcel.
Below examples of labels to The Netherlands and Spain. Both with different services (respectively DPD Business – 101 and DPD Shop – 338).
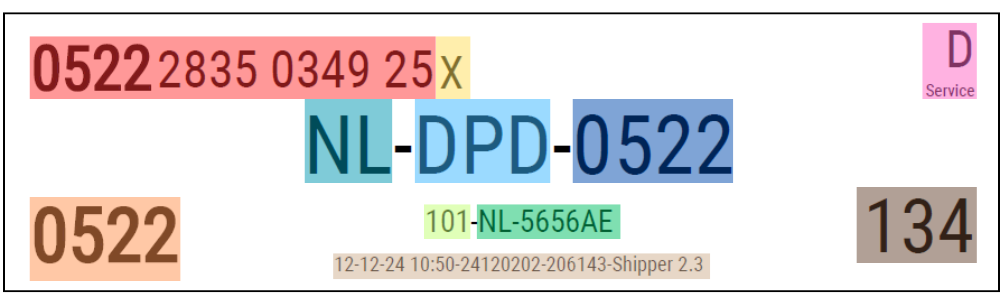
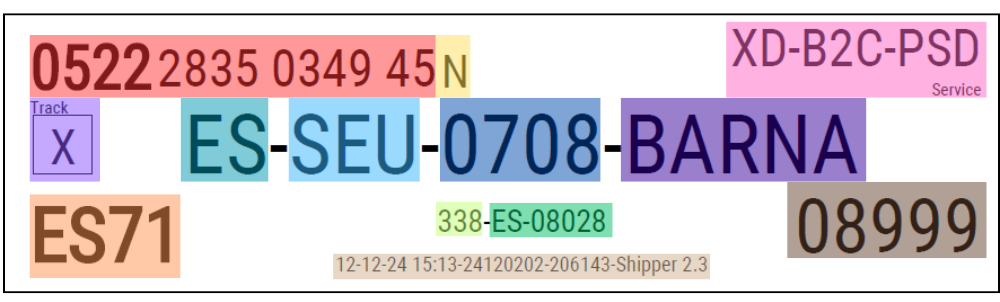
Explanation of the different information within this area based on the colors.
- Parcel/Tracking Number
- Check Digit
- Service Text
- Service Mark
- Depot Country ISO 3166-1 alpha-2
- Destination Business Unit
- Destination Depot
- Sortation Code (SSORT)
- Origin Sort (OSORT)
- Sorting/Service Code
- Destination Country + ZIP Code
- Destination Sort (DSORT)
- Date & Time label generated – Routing Database (YYMMDDVV) – Location – Printing Application
-
Code 128 Barcode
The code 128 barcode has the same information as the routing zone, but combined into one barcode.
Below an example of the code 128 barcode.
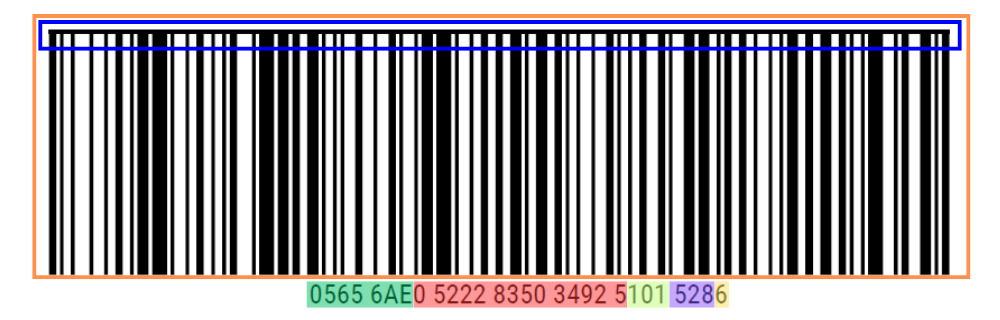
Explanation of the different information within this area based on the colors.
- 28-Digit Code 128 Barcode
- Barcode Printer Line
- Destination ZIP Code (padded with zeros)
- Parcel/Tracking Number
- Sorting/Service Code
- Numerical 3-digit Country Code
- Check Digit
-
Aztec 2D Code
At this point, there is no further information about the Aztec 2D Code.
-
E-Label QR Code
The E-Label is a PNG image with a QR code as below. The explanation of the e-label can be found below the label example.
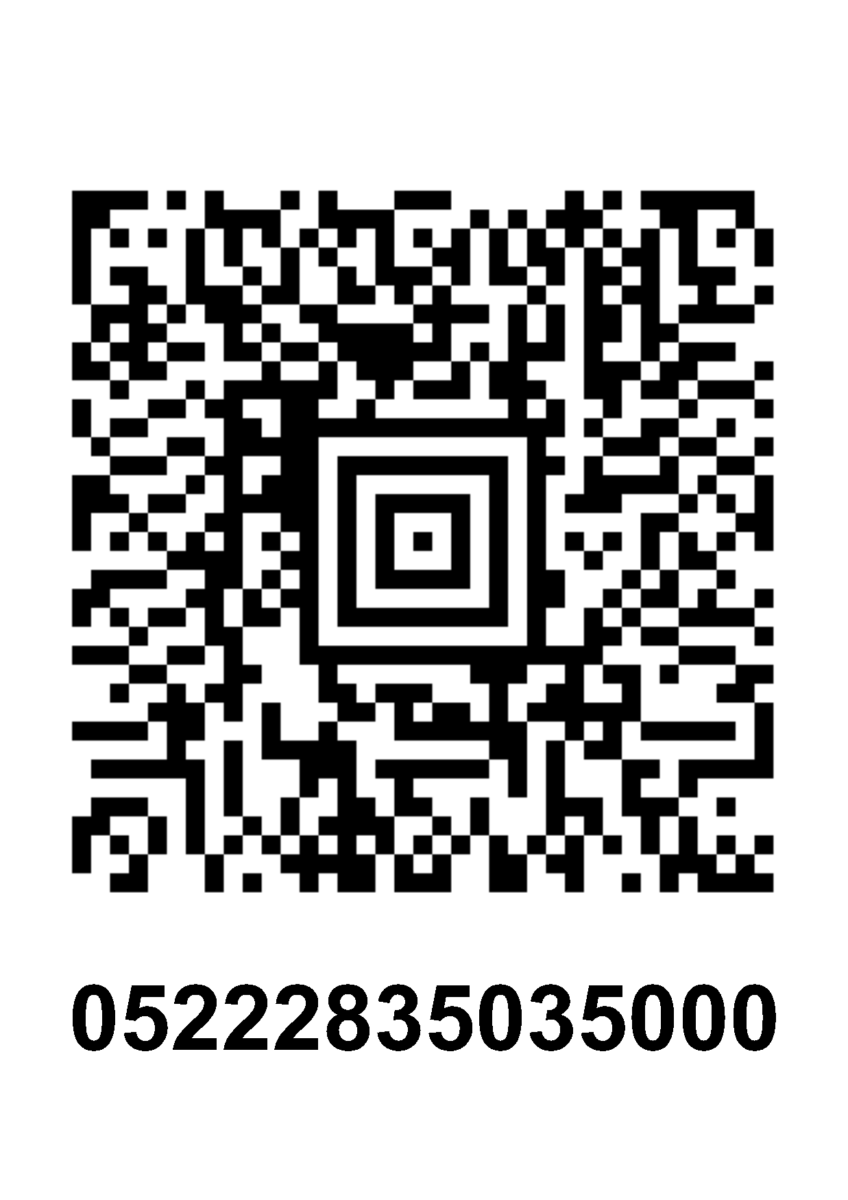
The content example of the QR code:
[)>[RS]01[GS]02[GS]5656AE[GS]NL[GS]101[GS]05222835035000[GS][GS][GS][GS][GS][GS][GS][GS][GS][GS][GS][GS][RS]07[GS]G03[GS][GS][GS][GS][US][US][US][US][US][US][US][US][US][GS][GS][GS][GS][GS][GS][GS][GS][GS][GS][GS][GS][RS]07[GS]S010[GS][US][US][US][US][US][US][US][US][GS][RS][EOT]And includes the following data:
- Destination ZIP Code
- Destination Country
- Sorting/Service Code
- Parcel/Tracking Number
-
Label Quality
Ensuring the parcel reaches its destination without delay, starts with properly affixing the shipping label. To help the shipment move smoothly through our process, there are a few essential guidelines to keep in mind. The following examples show the do’s and don’ts of label placement.
 Do apply the label on top.
Do not apply the parcel label on the center of gravity side (bottom).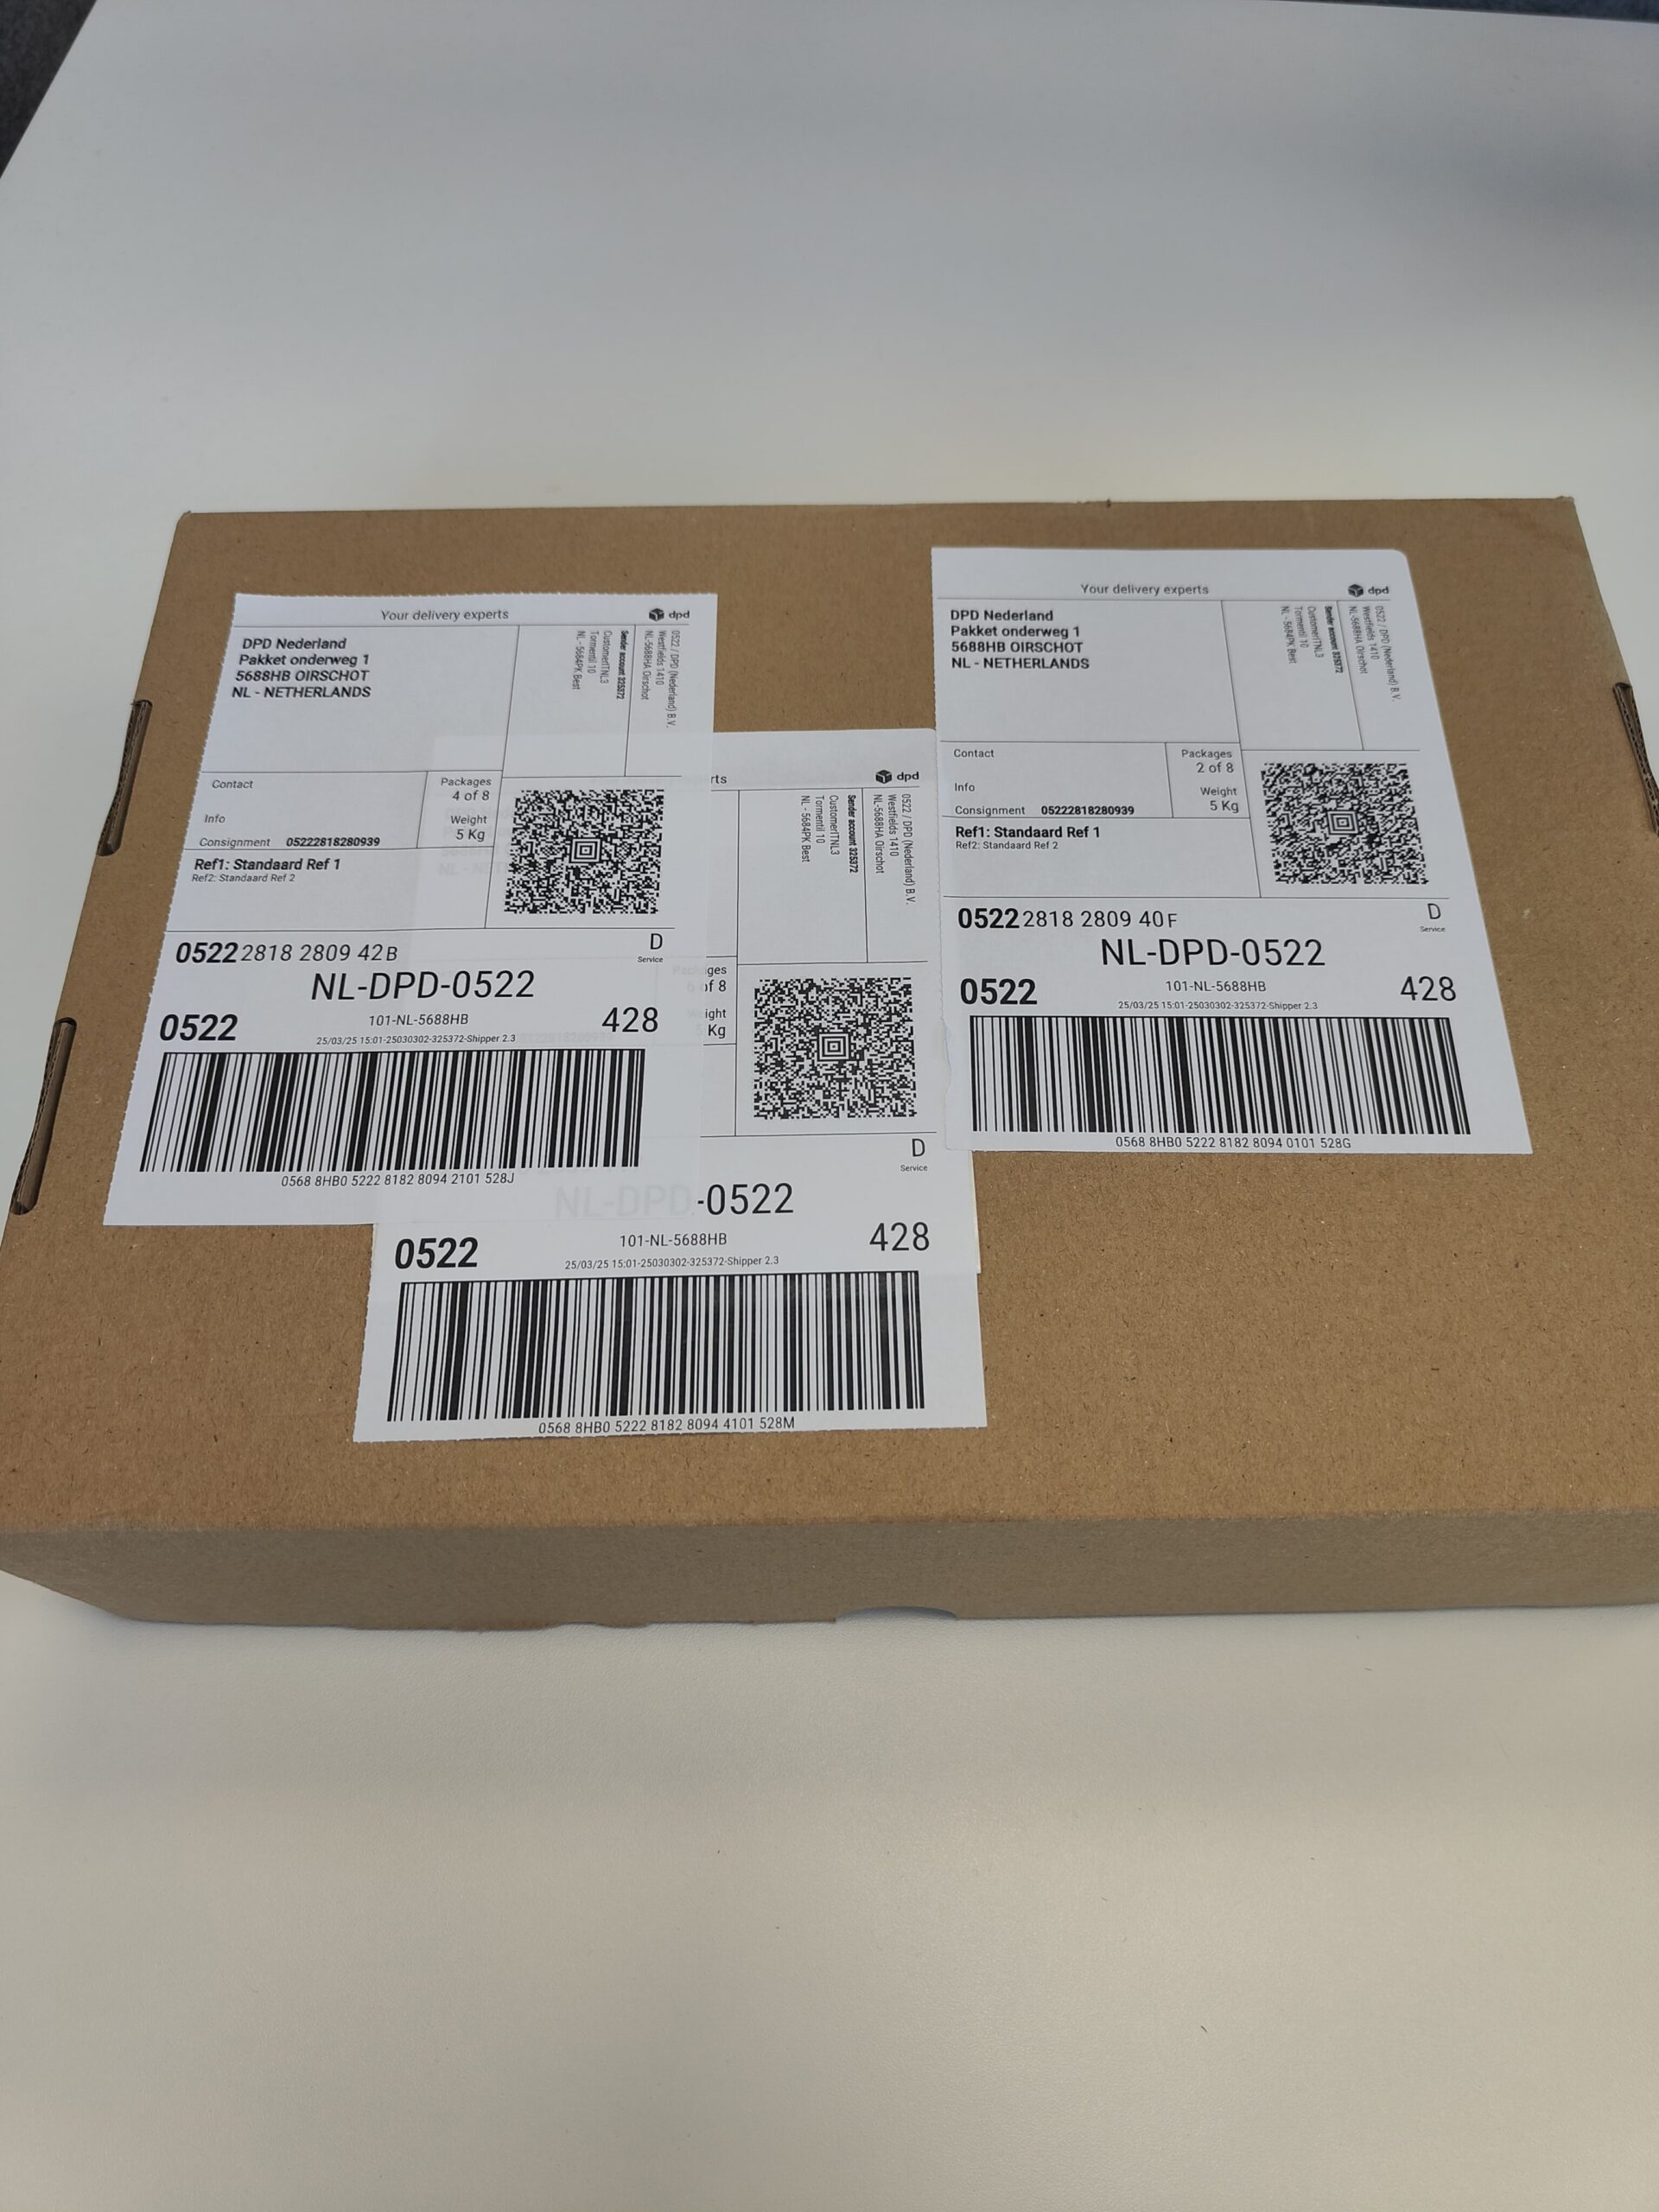 Do not affix multiple parcel labels and/or barcodes on the parcel.
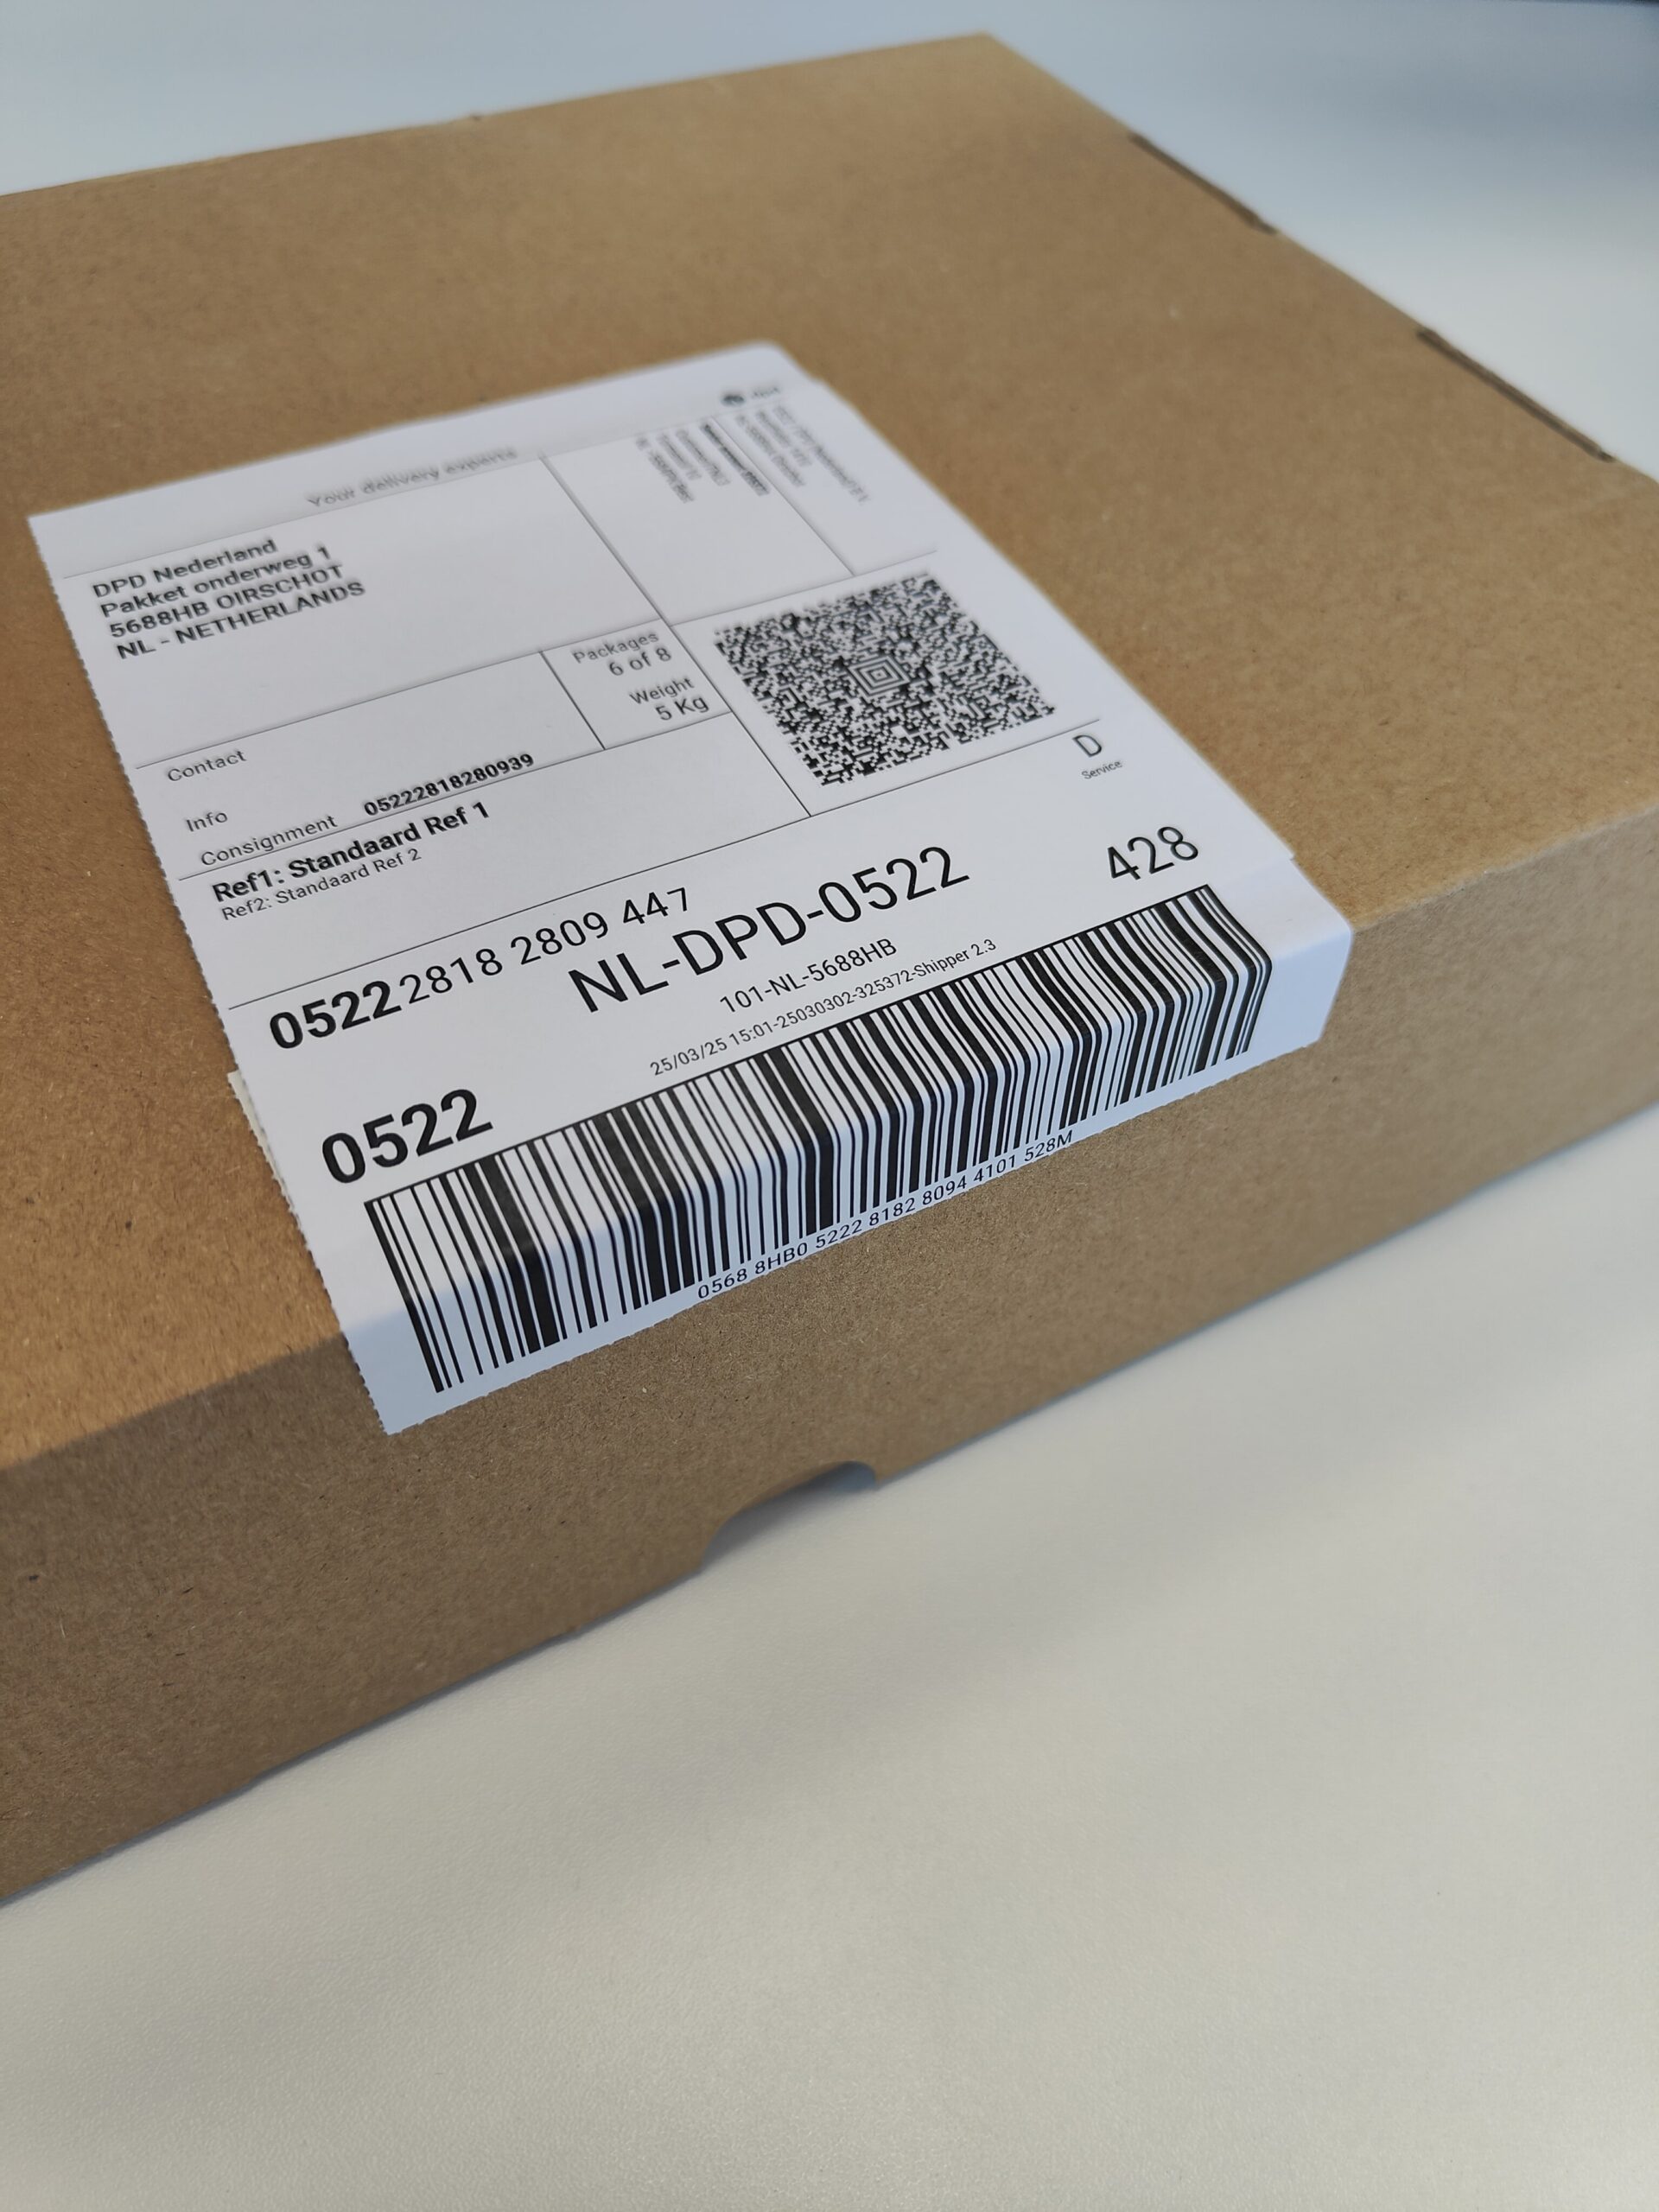 Do not bend the parcel label.
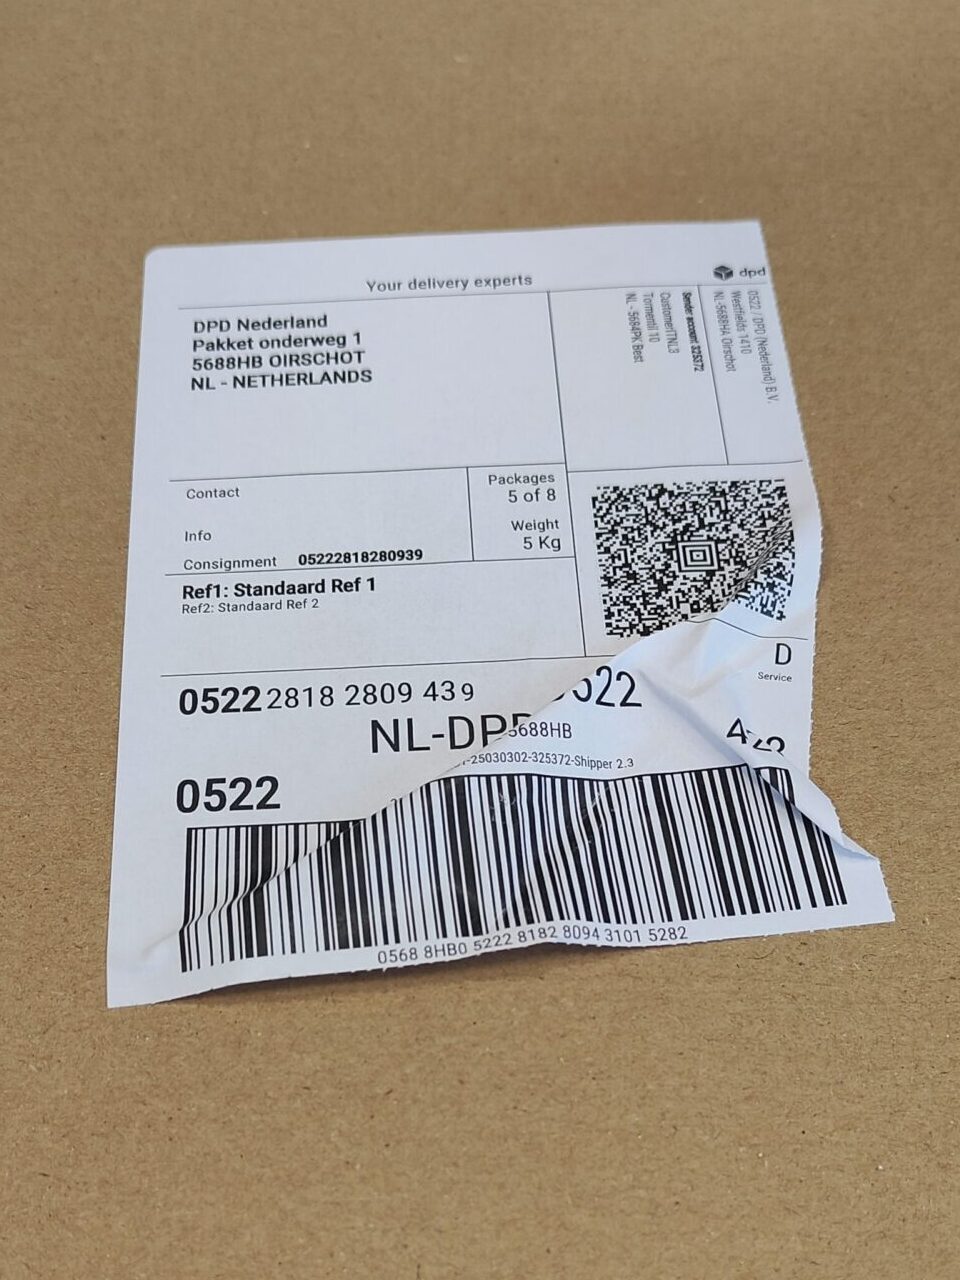 Do not affix the parcel label wavily.
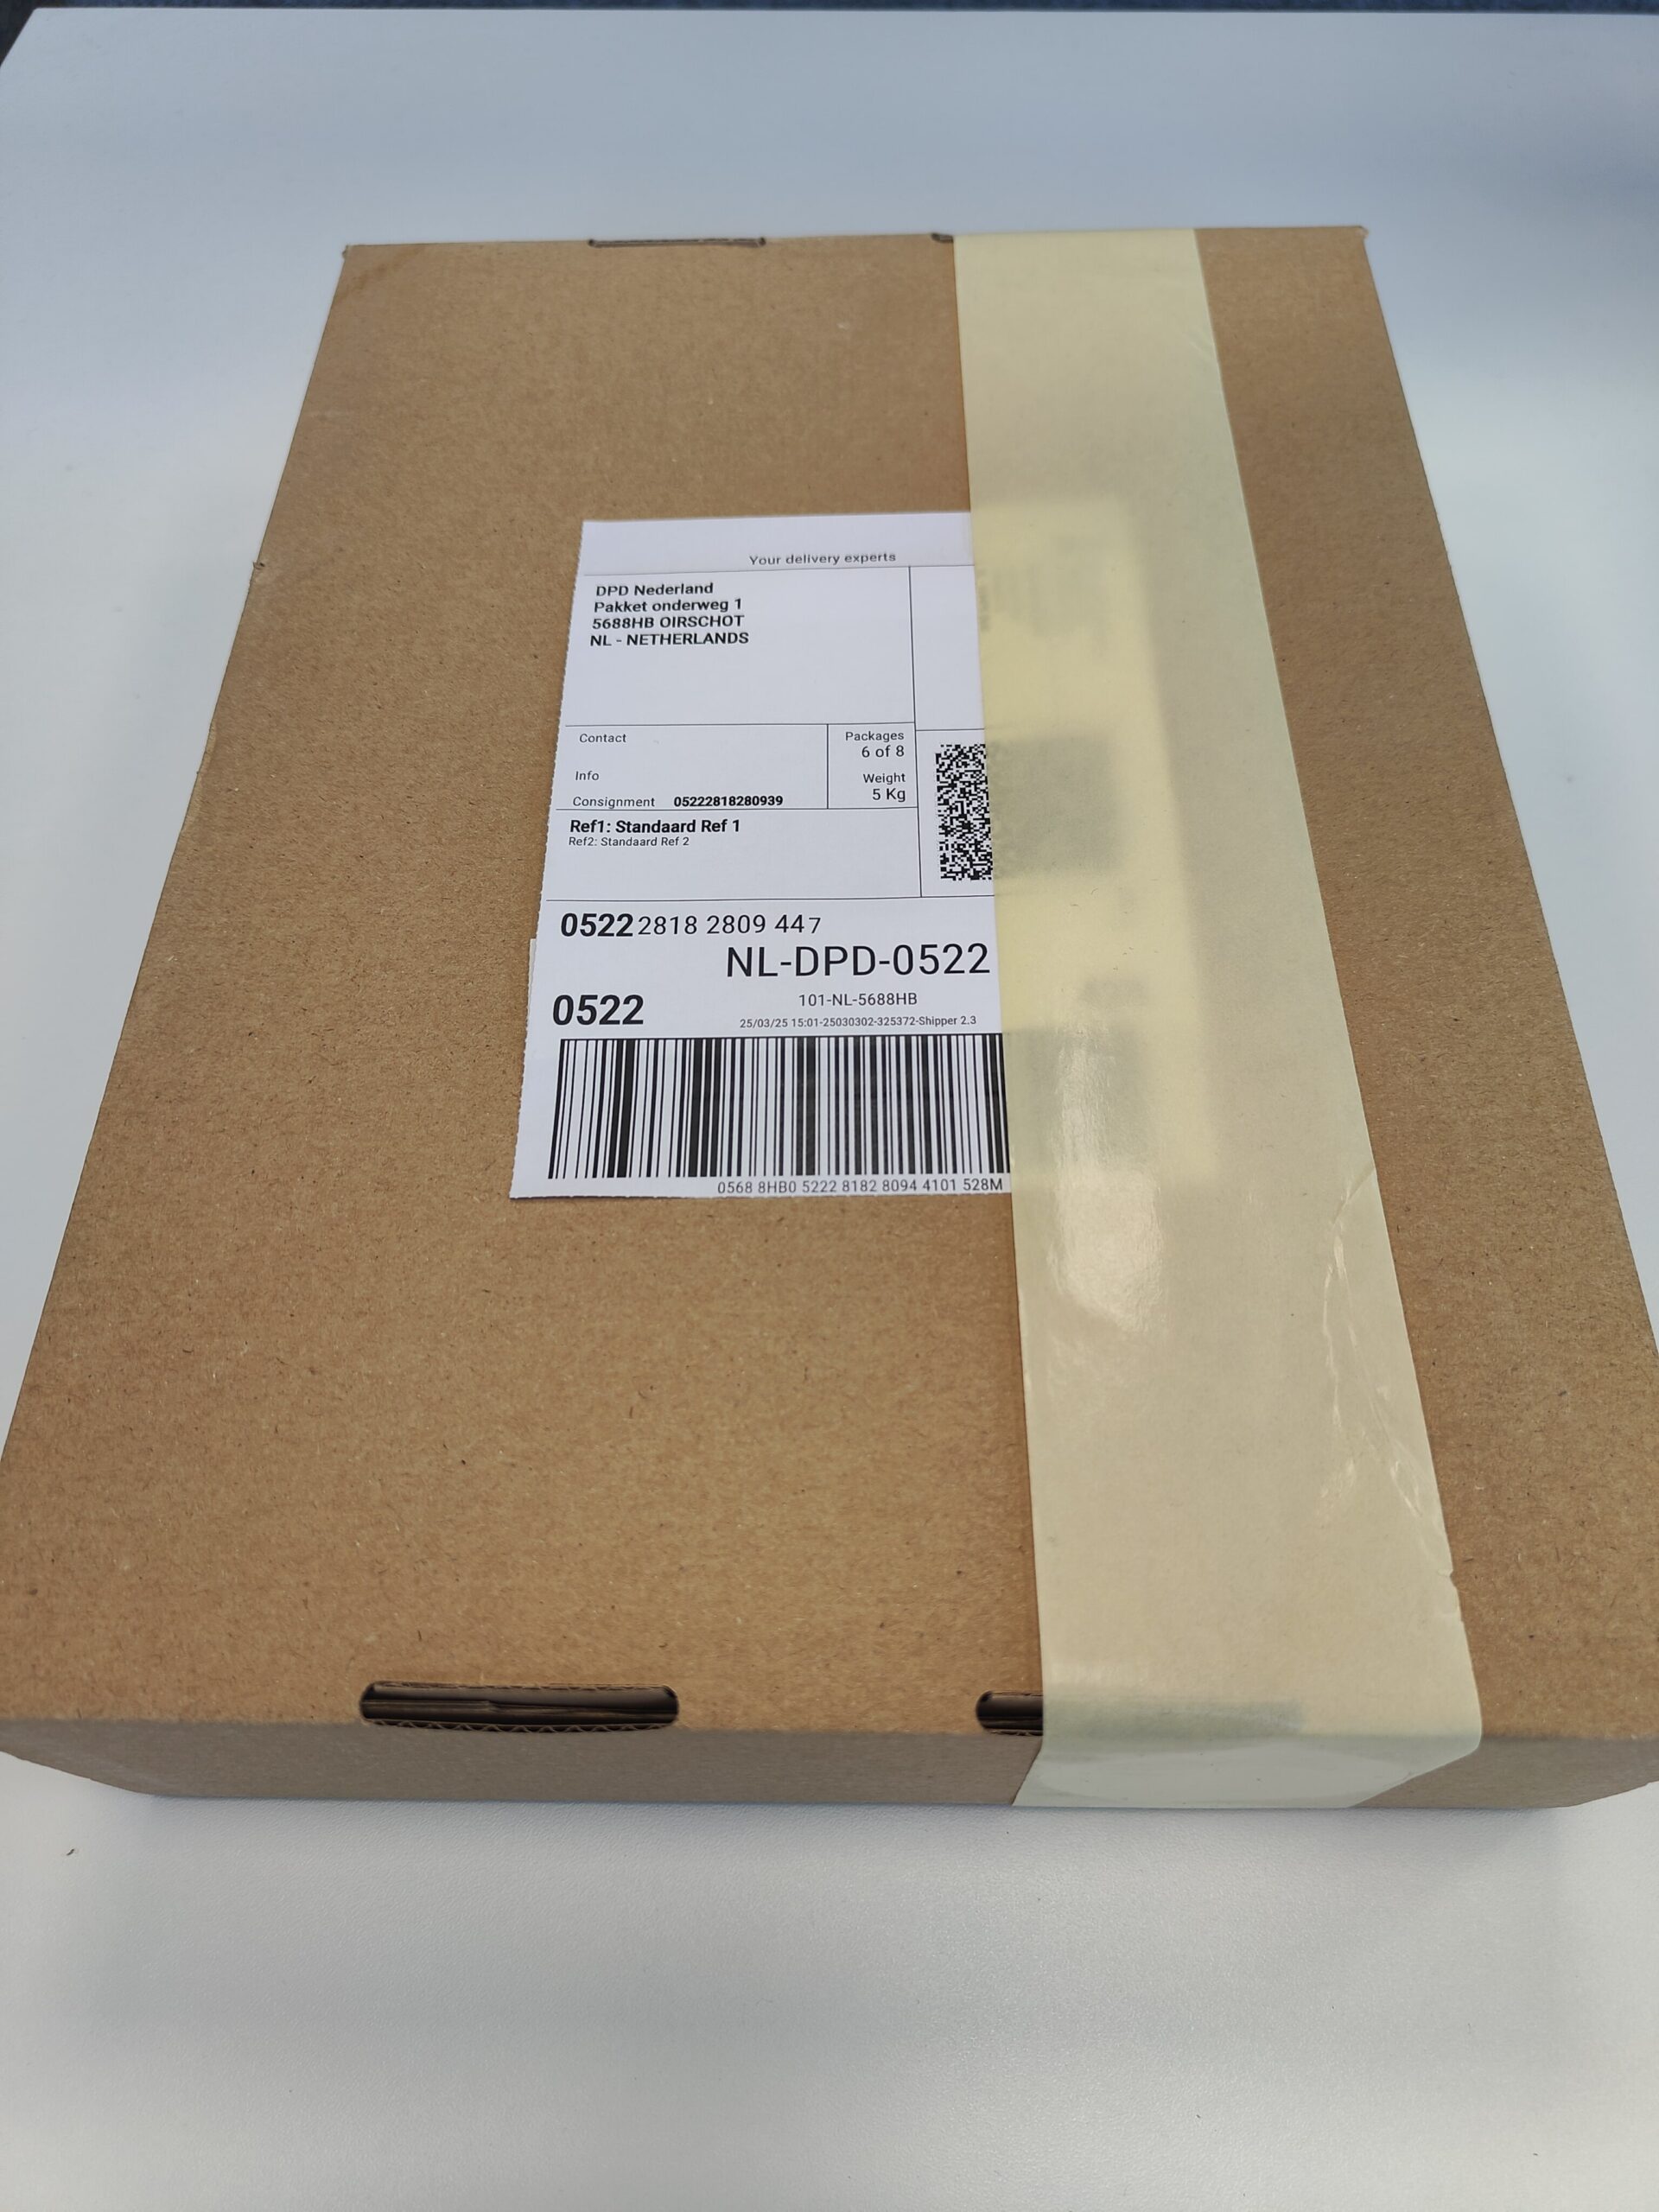 Do not cover or tape over the parcel label.
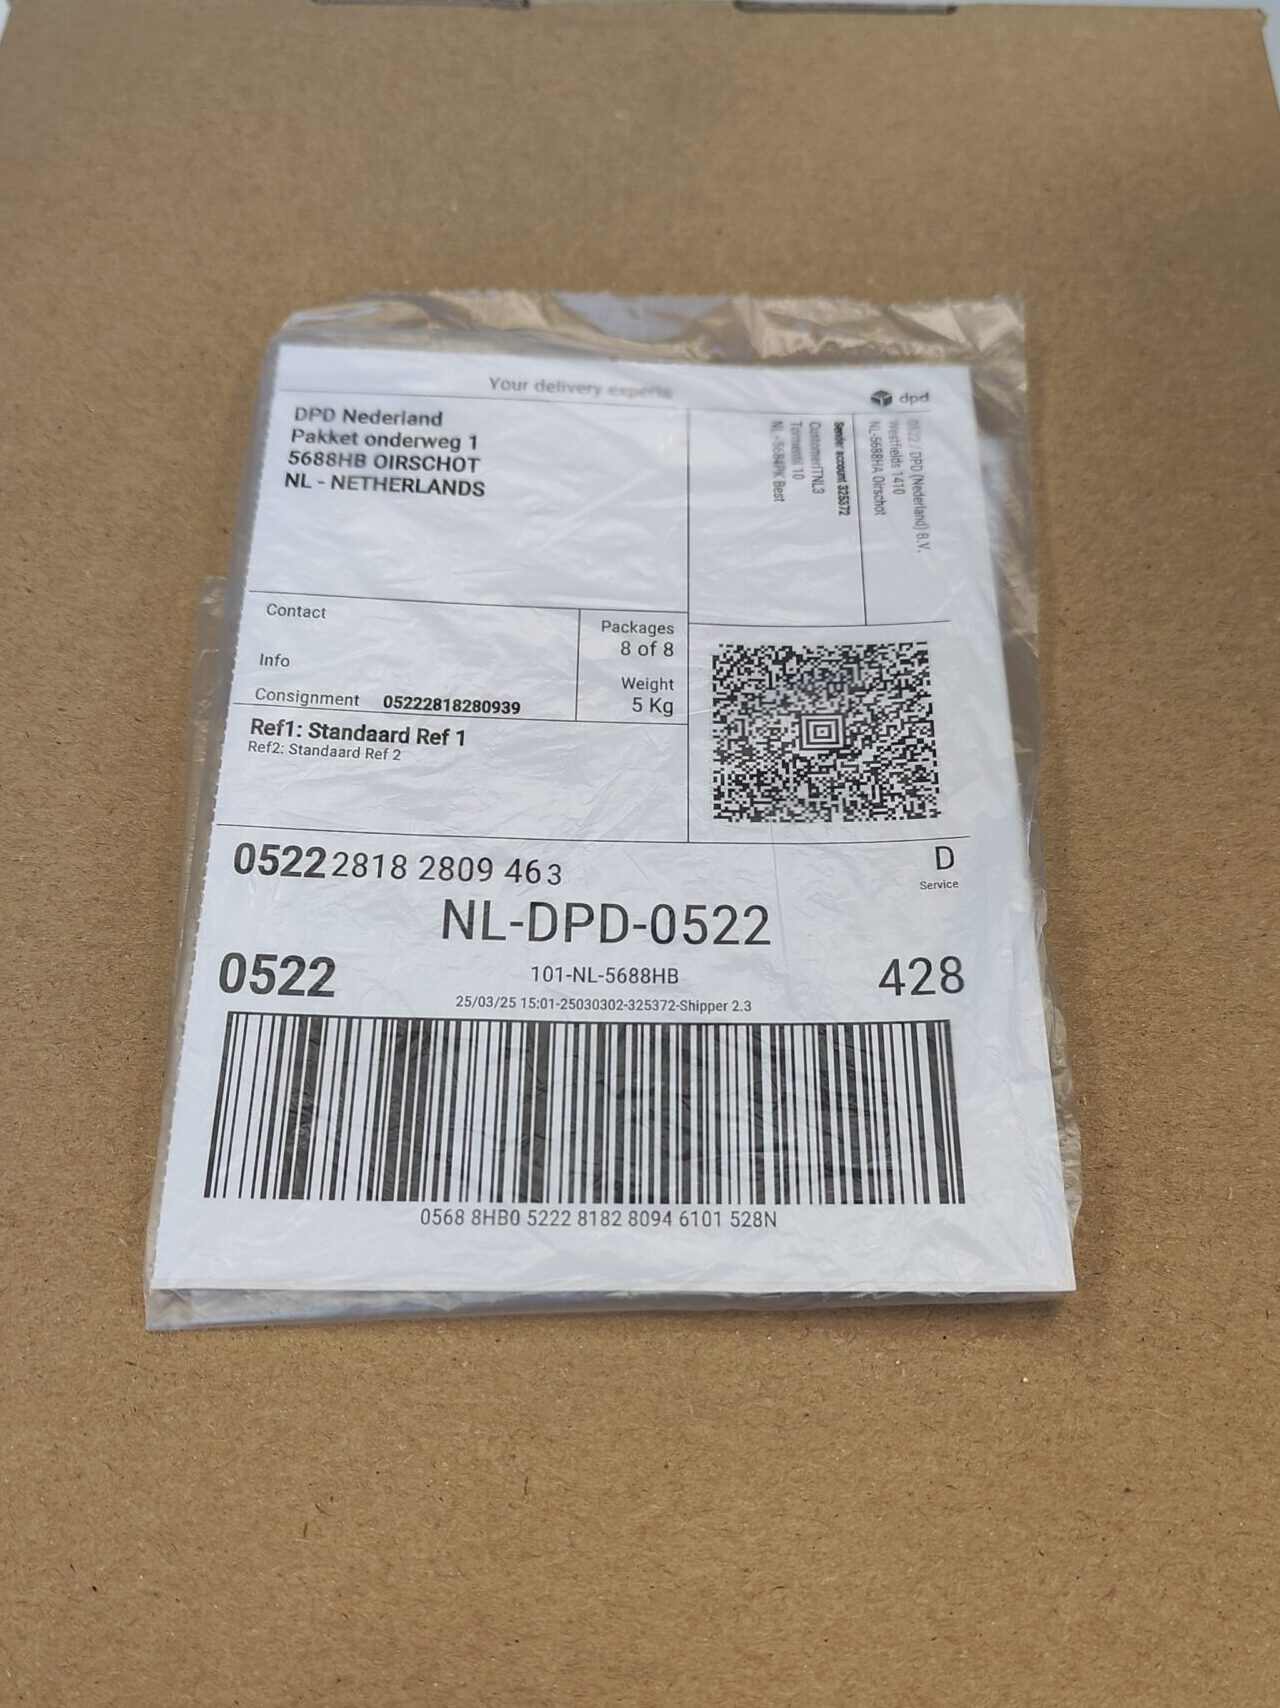 Do not affix the parcel label under (wavy) foil or shrink films.
To ensure seamless scanning and accurate reading of barcodes, it is essential that label and barcode quality meet specific standards. These specifications have been carefully developed to guarantee compatibility with all scanners. Below we defined four key factors that define the quality of a label.
Material / Paper
 Do use white, high-quality material.
 Do not use yellowed, old or dirty material.
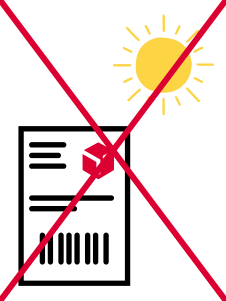 Do not storage the labels in the sun.
Printer
 Do use black ink for best contrast.
 Do check color fill level regularly to avoid faded prints.
 Do clean the print head regularly to avoid bad printing quality.
Printing Method
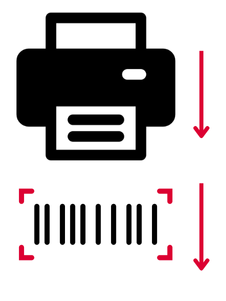 Do print the bar code always parallel to the running direction of the paper.
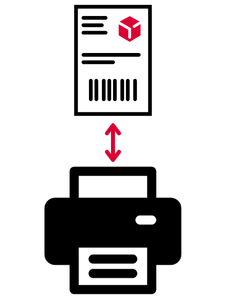 Do use label format suitable to the printer type.
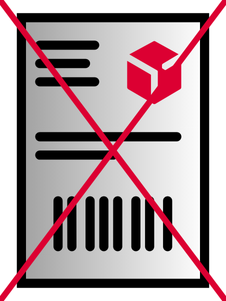 Do not use labels with color gradient. Prevent this by avoiding inkjet printers.
Scaling
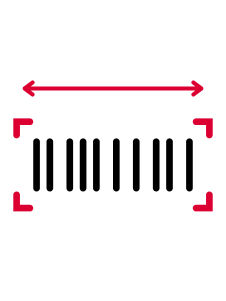 Do check the correct bar code width. Adjust print speed if necessary.
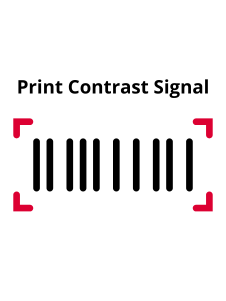 Do use PCS of at least 90%. Preferably use 95%-100%.
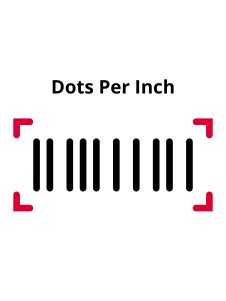 Do print with a compatible resolution (203 dpi for label printers and 600 dpi for laser printers)