Here you can find the installation/ configuration guide of the Prestashop DPD Connect plugin.
Prestashop
-
Installation
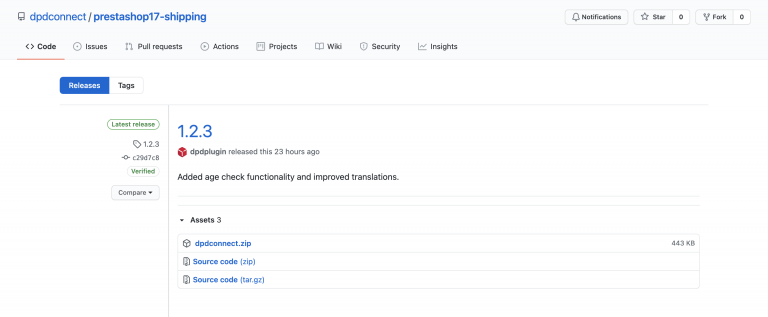
This plugin can be installed easily by uploading the zip file that you can download here.
After downloading the zip file you can upload it to your Prestashop admin in Menu > Module manager > Upload module.
-
Configuration
After installing the plugin we need to configure it.
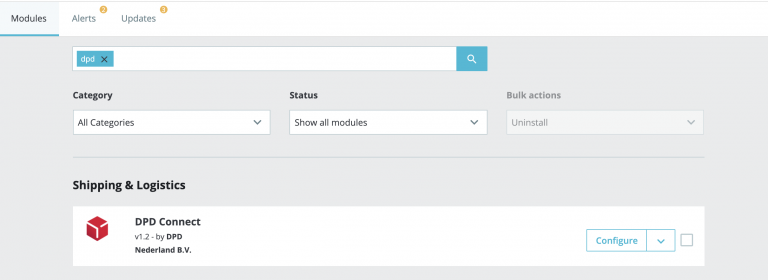
To configure the plugin go to Menu > Module manager and type into the search bar DPD, now you should see the plugin with a configure button.
Account settings
In this section you’ll need to fill in your DPD credentials, the fields you need to fill out are.
- DPD-Connect Username
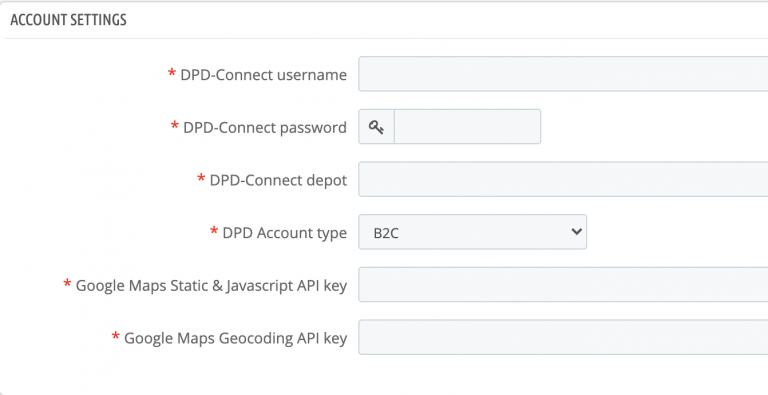
- DPD-Connect Password
- DPD-Connect Depot
- DPD Account Type
- Google Maps Static & Javascript API key
- Google Maps Geocoding API key
The Google keys you need to fill in here are the same for both fields, you need to get the keys themself from Google.
Shipping address
In this section we need to give the plugin our shipping address, fill out the fields with your shops information. The last three fields are for customs, they need to be filled out if you’re planning to ship your products internationally.
The fields that you need to fill out this section are.
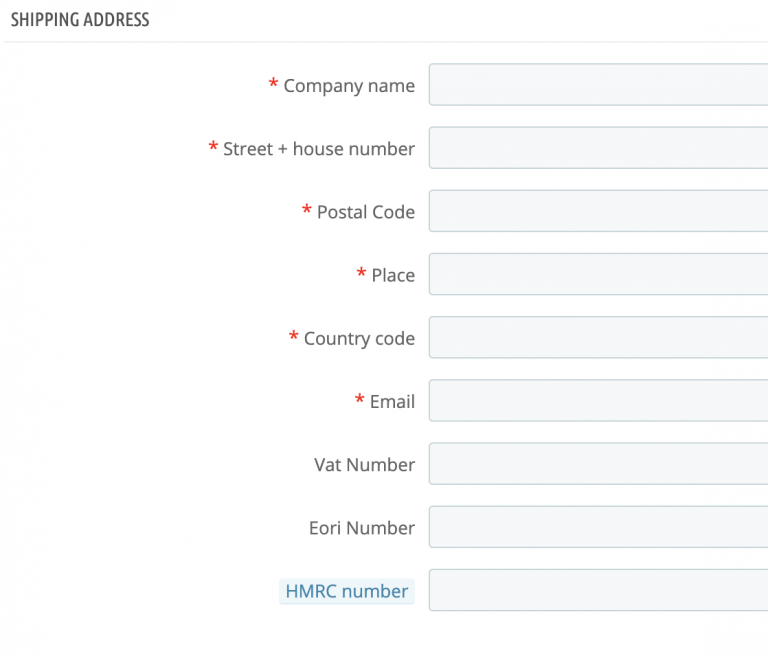
- Company name
- Street + house number
- Postal/ Zip code
- City (place)
- Country code ISO 2 (NL , US, DE)
- Vat number (for customs)
- Eori number (for customs)
- HMRC number (for customs)
Product settings
This section is about the products your store is selling, we can set some default values for your products here as well as some other setting. This section is not necessary but we recommend you fill out all the fields.
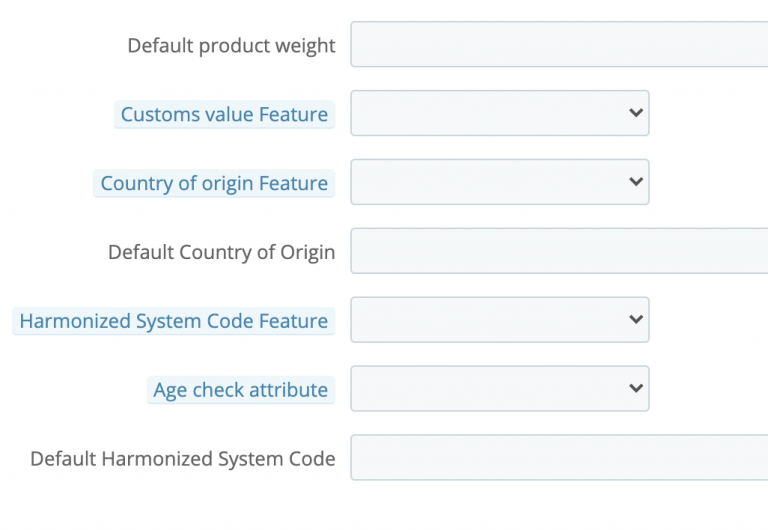
The fields that you can fill out this section are
- Default product weight
- Customs value Feature
- Country of origin
- Default Country of Origin
- Harmonized System Code Feature
- Default Harmonized System Code
Harmonized System Code
Among industry classification systems, Harmonized System (HS) Codes are commonly used throughout the export process for goods. The Harmonized System is a standardized numerical method of classifying traded products. It is used by customs authorities around the world to identify products when assessing duties and taxes and for gathering statistics.
Advanced settings
These settings are for debugging purposes.
You may leave these settings empty, unless you know what you are doing
- DPD-Connect Username
-
Configuration
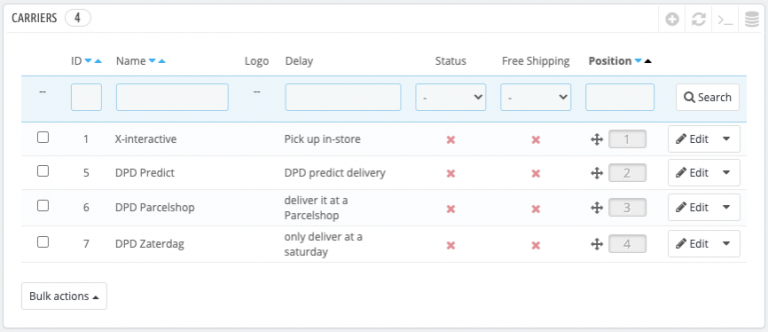
To enable the DPD carriers after configuring the DPD Connect plugin go to Menu > Shipping > Carriers. Here we can enable the different carriers by clicking the X or disable them by clicking the ✓.
Configuring the carriers
Now that we enabled the different DPD carriers we can also configure them, go to the carrier settings by clicking on the carrier you want to configure.
General
Most of the DPD Carriers use the same type of settings for the general section, the only exception this is DPD Saturday but we’ll take a look at those settings later.
The settings you’ll have to fill out this section are.
- Carrier name
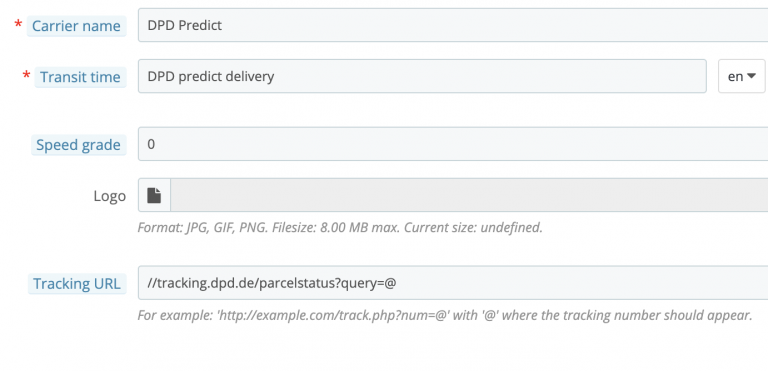
- Transit time
- Speed grade
- Logo
- Tracking URL
Shipping
This section of the settings is about shipping locations and costs, the fillable fields and option in this section are.
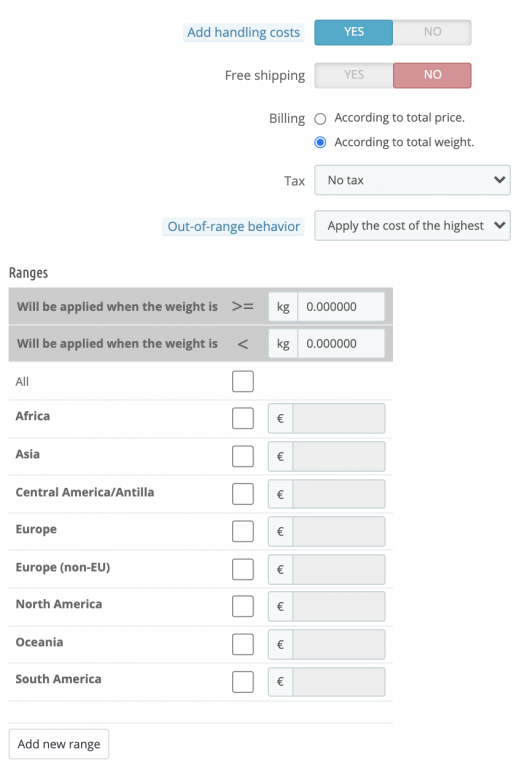
- Add handling cost (yes / no)
- FreeShipping (yes / no)
- Billing – According to total price or weight
- Tax
- Out-of-range- behavior
- Ranges
Dimension and weights
This section of the settings is about dimensions and weight, the fillable fields and or options in this section are.
- Maximum package weight (KG)
- Maximum package height (CM)
- Maximum package width (CM)
- Maximum package depth (CM)
- Group access (Customers that can use this service)
DPD Shipping Guidelines
DPD has official guidelines for Dimension and Weights, we recommend that you read them and use them for the settings in this section you can find the official guidelines here.
Here is a quick summary of the Dimensions and Weights be sure to check the official guidelines for changes.
Max weight
Weights and dimensions: parcels may weigh a maximum of 31.5 kg.
Max Dimensions
The size (girth + longest side) may not exceed 3 meters. And your parcel may not be longer than 1.75 meters.
Summary
This section of the settings is a summary of all the settings/ information that you’ve chosen during the process, you can also choose to enable or disable the DPD Carrier here. If you have not yet enabled the DPD Predict Carrier you can do it now.
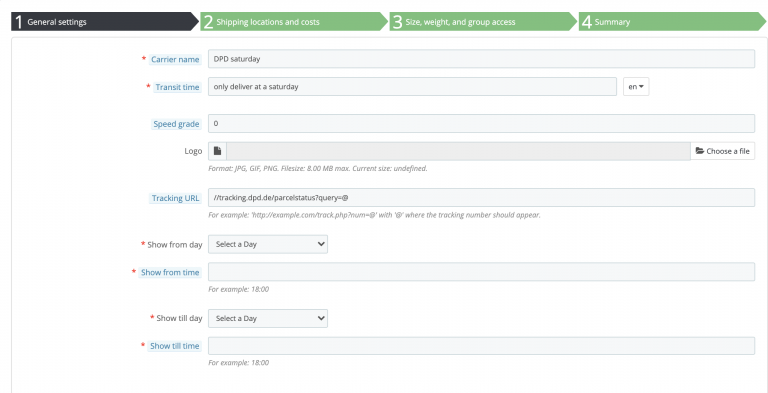
DPD Saturday
DPD Saturday has a few different settings in the general section, the setting that you will have to fill out for DPD Saturday are.
- Show from day (from which day will the service be available as a choice)
- Show from time (from what time of day will the service be available as a choice)
- Show till day (until what day will the service be available as a choice)
- Show till time (until what time will the service be available as a choice)
These settings determine when your store shows the DPD Saturday option, you’ll have to set a time and day for all four of the options otherwise the DPD Carrier will not be shown!
- Carrier name
-
Create shipment labels
Now that you’ve enabled all the DPD Carriers, and configured the DPD Connect plugin we can try generating labels! Go to Menu > Orders > Orders here you’ll see all the orders from your store, and you’ll be able to generate labels from this page
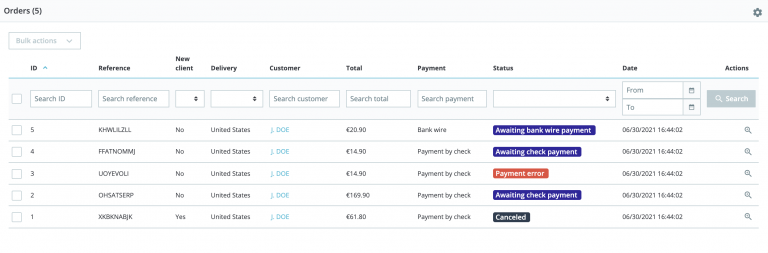
Generating DPD labels (General)
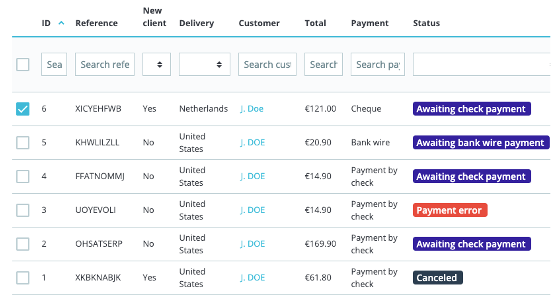
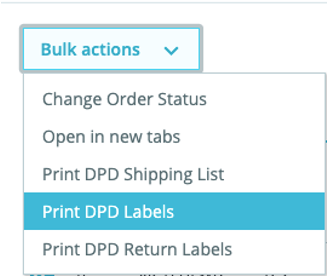
To generate labels click the checkbox next to the id of the label(s) you want to generate one for, then click the dropdown menu above the ID column with the default text of ‘Bulk actions’ and then select ‘print DPD labels’.
To print ‘DPD return’ and Shipping list(s) you’ll have to go through the same steps, only you have to select ‘Print DPD Return labels’ or ‘Print DPD Shipping lists’ in the dropdown menu.
DPD Labels can only be generated for orders that have selected a DPD Carrier service, DPD Labels can’t be generated for non DPD Carriers!
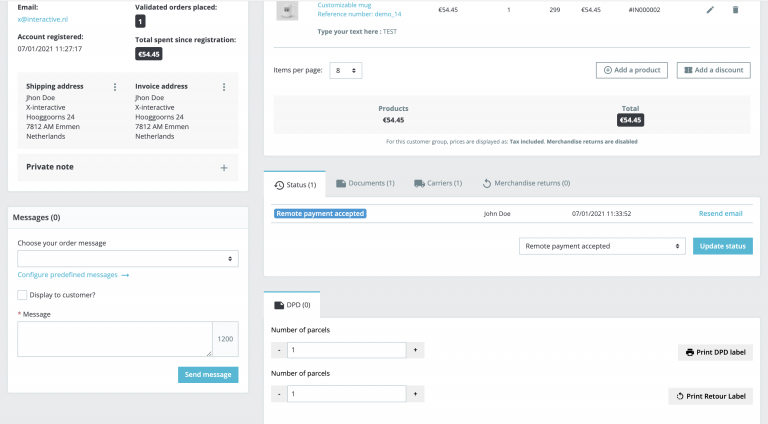
Generating labels (Single & Bulk)
To generate a label for a single order go to Menu > Orders > Choose order, now scroll down to the DPD section of the order. Here you can generate a single label manually as well as in bulk, for bulk generation fill in the desired number of labels in the field ‘number of parcels’ and click ‘Print DPD label’.
Generating return labels is the same as normal parcel labels go to Menu > Orders > Choose order, nog go to the DPD section of the order and fill in the desired number of return labels in the second field ‘number of parcels’ and click ‘print retour labels’ .