Getting Started
-
Introduction
DPD Shipper Central (https://shipper.dpd.nl) and DPD Shipper Local (https://server:8080) are both web-based applications with a user interface that requires login credentials. The main difference is that DPD Shipper Central is hosted by DPD in the cloud and DPD Shipper Local is locally installed on a computer or hosted on a local server.
DPD Shipper Central and DPD Shipper Local have the following features:
- Create shipping labels for all available DPD NL services
- Create return labels simultaneously with shipping labels
- Import multiple orders at once
- Automatic check of zip code and country combination
- Request Pickup Orders and Collection Requests
- Import and manage your own recipient address book
- Flexible user creation and management options
- International Shipment (including UK) compliant
Differences, pros and cons between DPD Shipper Central and DPD Shipper Local.DPD Shipper Central DPD Shipper Local Hosted by DPD in the Cloud Hosted locally on your server Easy and ready to use Requires IT knowledge and/or IT third party (e.g. for installation, network ports, firewall, virus scanner and SFTP server) Automatic version updates Manual version updates Collaborate easily with colleagues in the same environment Only accessible on the computer where the application is installed or collaborate via a central install on a server Manual import via CSV Automatic import via a local folder or SFTP server.
Tip! Use the quicker DPD Shipper Webservices (REST or SOAP API)Print multiple labels on A4 or via PDF on your label printer (A6) Direct label printing on your label printer (A6) -
Receiving Login Credentials
Once we have processed your request for credentials, we will send you your login details via email to get started with DPD Shipper Central or Local.
DPD Shipper Central
For DPD Shipper Central you will receive a login name with which you can set your own password via https://shipper.dpd.nl.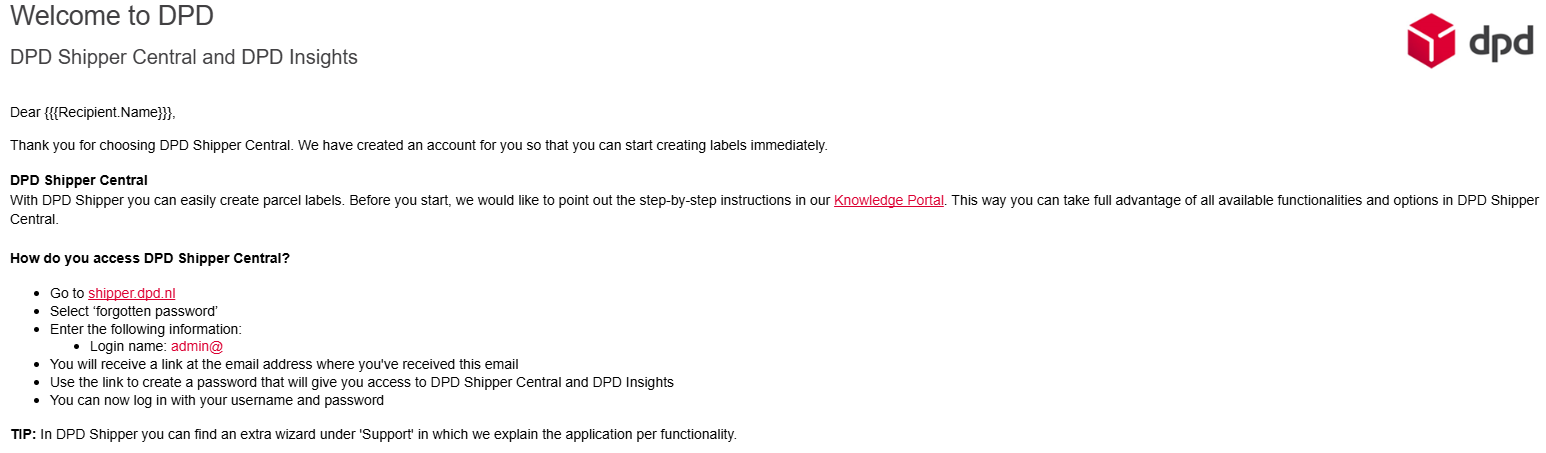
DPD Shipper Local
For DPD Shipper Local you will receive a login name, activation code and password (separate email) with which you can login and activate your DPD Shipper Local configuration.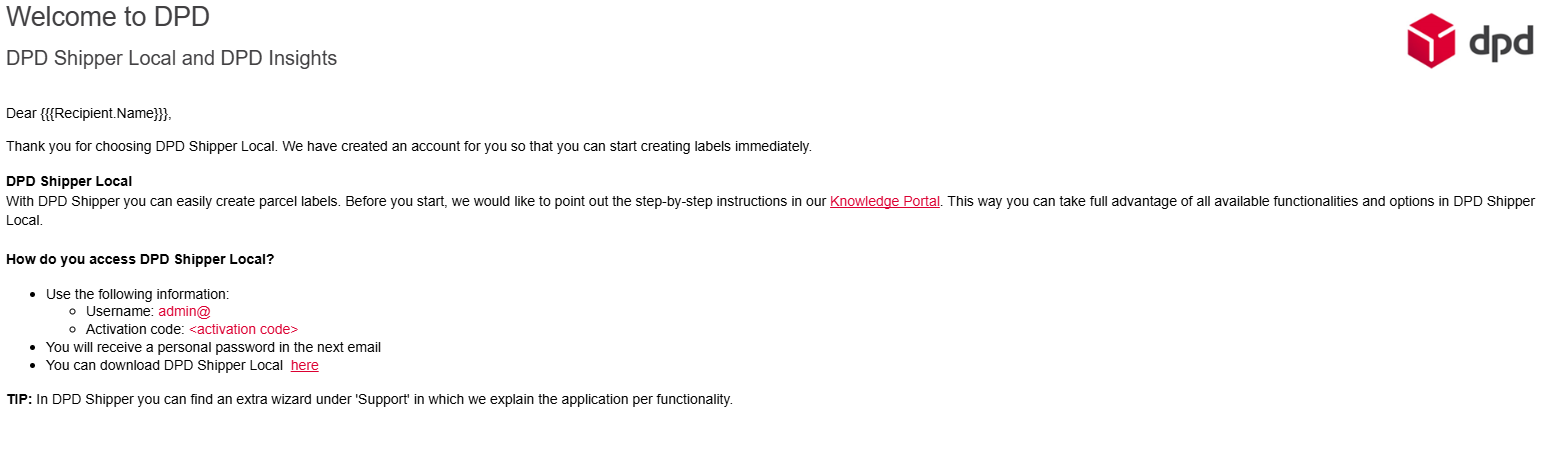
-
Login to DPD Shipper Central
After receiving your credentials by email, you go to https://shipper.dpd.nl to create your own password.
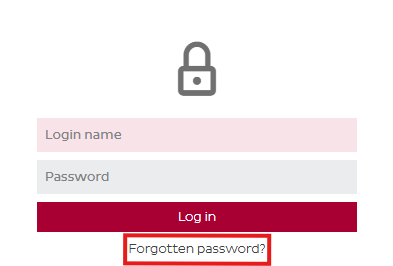
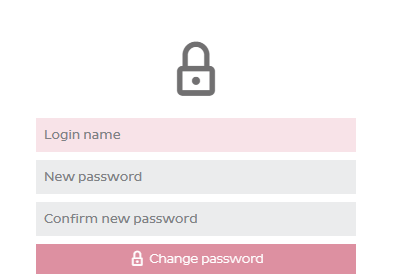
Within the login field, you click on ‘forgotten password’. In the next screen, you fill in your login name – usually starting with ‘admin@’. Do not fill in your email address. Click on the ‘request password change’ button to receive an email to set your password. We will send an e-mail to the same e-mail address you received the login credentials at.
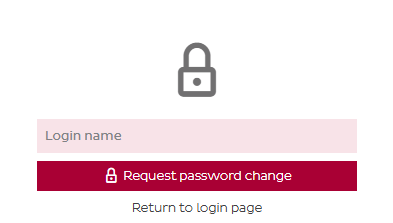
You have 48 hours to create a password via the link in the email you’ll receive. If you clicked on the link in the email, you can set a new password. Enter your login name, the new password and confirm this password. Click “change password” to save your password. After your password has been set, you can login via the login fields on https://shipper.dpd.nl.
-
Login to DPD Shipper Local
To get started, you’ll first need to install DPD Shipper Local. The latest installation file is available here, and detailed installation instructions can be found here.
Once the software is installed, you can log in using the credentials provided in your welcome email.
On your first login, you’ll enter a demo environment of DPD Shipper Local. To switch to your live configuration, use the activation code included in the same email.
Important! Any data entered in the demo environment will not be saved after activation.
-
Wizard
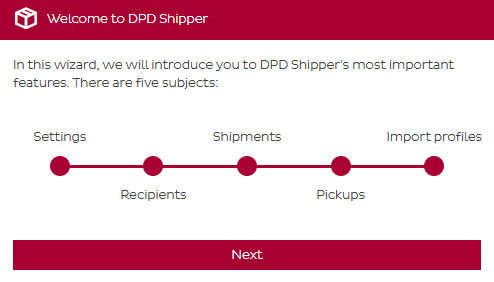
When you log in for the first time, a quick start wizard will guide you through the key steps to get set up. This wizard helps you configure the most important settings so you can start shipping with confidence.
You’ll be guided through:
- Setting up your default data
- Adding default parcel setting
- Connecting your printer
- Exploring key features like shipment creation
-
Overview Page
After you’ve completed the initial setup, you’ll land on the DPD Shipper overview page, the main page of the application.
The image below displays numbered references to key menu items and buttons. Each number is explained in the list that follows.
Each section in the menu (number 1 to 7) will be explained in more detail on its own dedicated page within this knowledge portal. Als the creation of shipments (number 10) will be explained on its own dedicated page. The links to these pages can be found in the light grey menu on the right or in the list below.
Click the image to open it full screen.
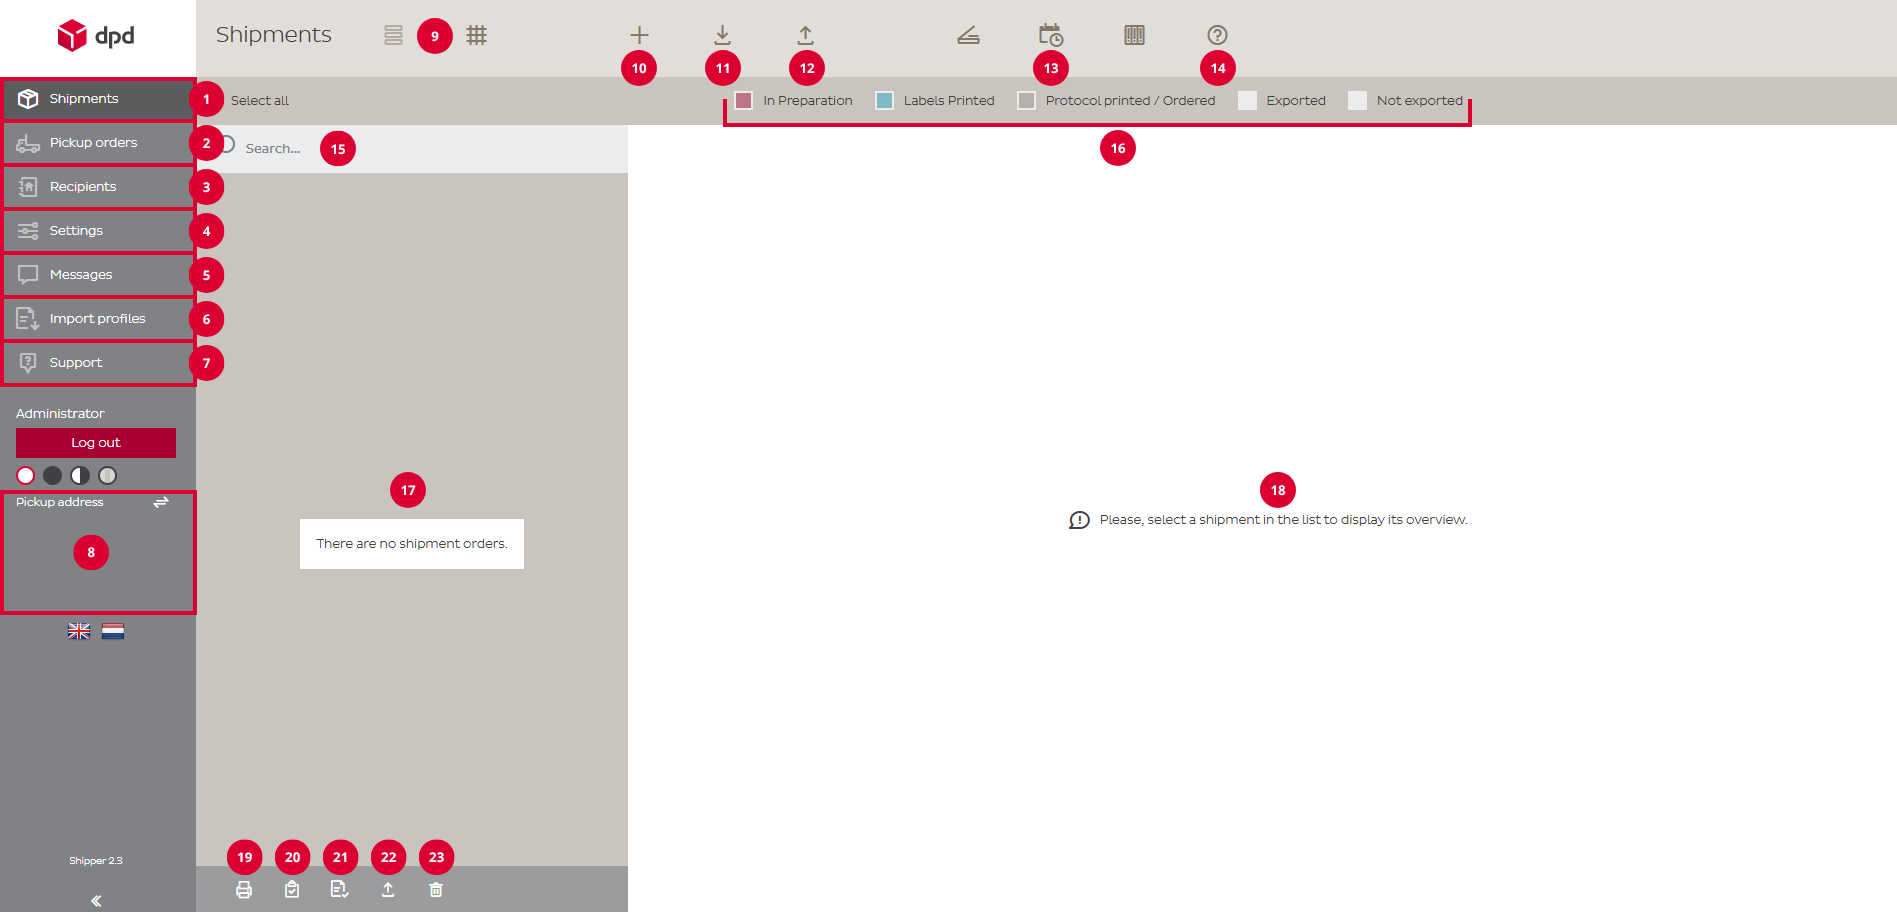
1. The Shipments page is the central workspace for managing all your shipping orders in DPD Shipper. From this page, you can easily create, edit, duplicate, delete, and print shipments. It also offers powerful import and export functions to streamline bulk processing.
2. The Pickup Orders page allows you to request a parcel pickup at your own address. This is only necessary if you do not have a fixed pickup arrangement with DPD. Simply enter the desired pickup date and the number of parcels to be collected.
3. The Recipients (Address Book) page serves as your address book within DPD Shipper. On this page, you can manage all recipient information. You also have the option to import recipients in bulk or export your address book for backup or use in other systems.
4. The Settings page allows you to configure the core elements of DPD Shipper. Here, you’ll find options for managing parcel settings, printer configurations, user management, and import preferences.
5. The Messages page provides a central place for staying up to date with the latest news and notifications related to DPD Shipper.
6. The Import Profiles page allows you to create and manage profiles that match the structure of your import files to the format required by DPD Shipper. Import profiles can be created for shipments, collection requests and recipients.
7. The Support page gives you quick access to helpful resources within DPD Shipper. Here, you’ll find the change log to stay informed about recent updates, an FAQ section with answers to common questions, and the setup wizard to guide you through key configurations.
8. The currently selected address is displayed here, and you have the option to switch to any other address associated with your account.
9. These buttons allows you to switch between a list view and a grid view, depending on your preference.
10. The “+ button” is used throughout the application to create or add something new. Whether you’re adding a new shipment, recipient, pickup request, or import profile — this button is your starting point for creating new entries.
11. The Import button lets you upload data into DPD Shipper from an external file. It’s commonly used to import shipment information or recipient details in bulk using an import profile.
12. The Export button allows you to download data from DPD Shipper to your own computer. Use it to export shipments, recipients, or other information for reporting, backup, or use in other systems.
13. The Daily Procedure button helps you complete the end-of-day processing for your shipments. It allows you to print shipping labels (if not already printed), generate a protocol (shipment list), and export shipment data (DPD Shipper Local).
14. The FAQ button takes you directly to the Frequently Asked Questions page. There, you’ll find answers to common questions about using DPD Shipper.
15. The search field allows you to quickly find specific shipment orders within DPD Shipper. You can search by recipient name, address, reference number, and other key shipment details. It’s a fast and easy way to locate the orders you need without scrolling through the entire list.
16. The status filters let you easily narrow down your shipment orders based on their current processing stage. You can filter shipments by statuses such as In Preparation, Labels Printed, Protocol Printed / Ordered, (Data) Exported, and (Data) Not Exported.
17. The Shipment List section displays all shipment orders based on your current filters and search criteria. After creating a shipment, it will appear here. From this section, you can open individual shipment orders to view details, make changes, or print shipping labels. It’s the central area where you manage and monitor all your shipments.
18. The Shipment Details section shows all relevant information for a selected shipment. Here you can view key details such as the sender and recipient information, reference number, parcel number, creation date, and more.
19. This button allows you to print shipping labels for the selected shipments in the list. Use this when you want to print labels in bulk for multiple orders at once.
20. Use this button to generate and print a protocol (shipment list) for the selected shipments. This is typically done after labels have been printed, as part of the daily shipping process.
21. This button prints the confirmation of the collection request for the selected collection requests. It’s comparable to the protocol for shipments.
22. Click this button to export the selected shipments to a file. This is useful for archiving, reporting, or integrating with external systems.
23. This button deletes the selected shipments from your list. Use with caution, once removed, the shipment data is no longer available unless previously exported or saved.