Shipment Creation
-
The Basics
You need to gather minimum specific information on your desired service and destination to be able to create a single shipment: - Receiver name (max 35 characters)
- Receiver address (max 35 characters)
- Receiver ZIP code (max 9 characters, no spaces or symbols)
- Receiver City
- Receiver Country
- Weight of the parcel (max. 31,5kg or 20kg for parcelshop delivery)
- A choice of service or option
Preferably (or mandatory if a service requires it) you also want to add:
- Receiver email and phone
- Parcel dimensions
- Parcel references for you own convenience
- Return address
Optionally, depending on destination, you also need:
- Tax and harmonised customs info, for non-EU shipments
Most used services:
- DPD Business: B2B shipment
- DPD Business Express 8:30/10:00/12:00/Guarantee: B2B shipment with priority handling
- DPD Home: A B2C shipment to a private address with predict messages
- DPD Shop: A B2C shipment to a pickup point with predict messages
- DPD Shop Return: A shipment allowing a receiver to return a parcel to your address
Important notes:
- Printing a label and the actual shipping of the parcel (handing it over to DPD) can have a maximum span of 10 working days
- Reprinting the same label with identical labelnumber for re-use is not allowed.
- Printing a label does not trigger an invoice event, handing the parcel over to DPD does, when a first depot scan is performed.
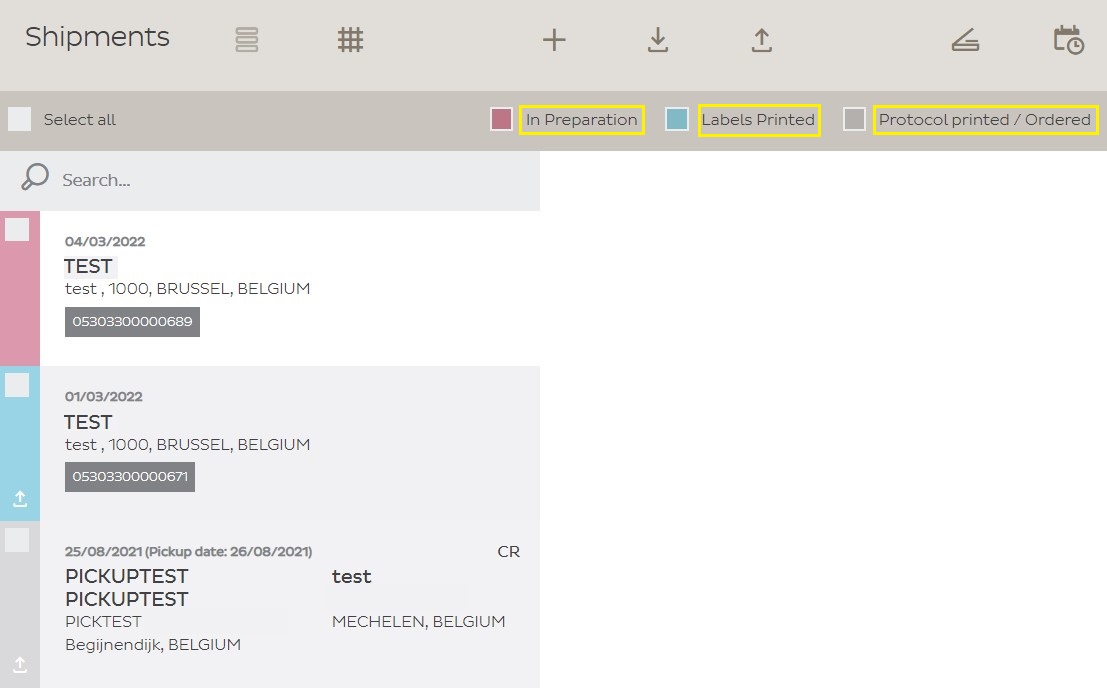
- Please do check which filters are active. If you cannot find a shipment in your list (search box and checkboxes ‘in preparation’ , ‘labels printed’ – … )
- Recognising shipment status:
- Red / In preparation – Shipment has been registered but the labels have not yet been printed.
- Blue / Labels printed – Shipments labels were printed but the data was not yet sent to DPD
- Grey / Order sent – The data has arrived at DPD
-
Creating a default shipment
To create a regular shipment, you have to go through the 3 steps below.
Please make sure you check each one of these three steps, or your shipment might not properly be picked up by DPD!
Creating a shipping label – Enter the details of a shipment and create a label
Request a pick-up – Book a request to have a driver come and pick up parcels, this is only necessary if you have no fixed pick-ups.
Daily procedure – Forwarding the data to DPD
-
Creating a shipping label
IMPORTANT: When you create a shipment in DPD Shipper, you have to use the label within the next 10 days. It’s not allowed to use labels that are older than 10 days.
It’s also not allowed to reprint or re-use an old label to create a new shipment, even if it’s to the same person. A new shipment must be created.You can create a new shipment via shipments or via recipients.
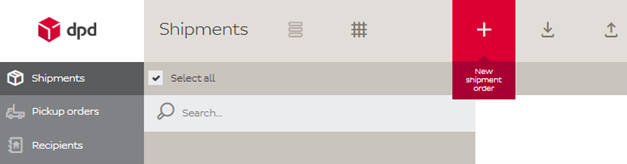
→Via Shipments
In Shipments click on New shipment order.
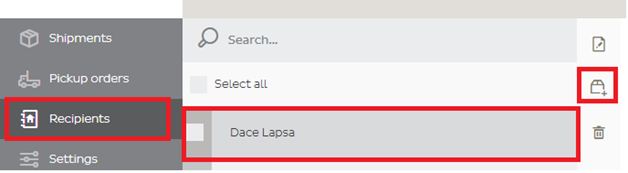
→Via Recipients
In Recipients click on the recipient, you wish to add the shipment. In details click on New shipment order in middle column of the view
Here you add the details into all the mandatory fields marked with an asterisk.
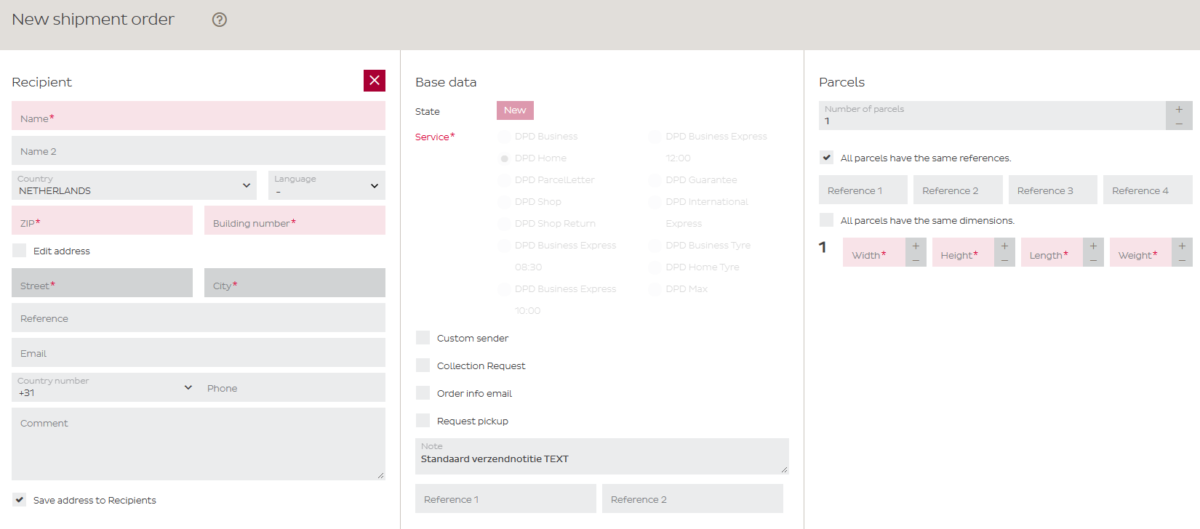
When all required fields are filled in, the buttons at the bottom will be active. If these remain inactive then there is probably a required field that has not yet been completed. Then check if there are still fields in red.
Save: Your shipment will be saved and you will return to your shipment list.
Save and new: Your shipment will be saved and you can immediately create a new shipment.
Print and new: Your shipment will be saved and printed and you can immediately create a new shipment.

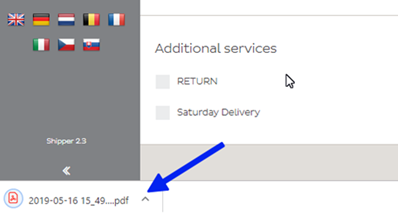
Printing a shipment happens via PDF. Your browser will create a PDF and download it. You will have to open it in order to print it. In Chrome (recommended) you will find this in the bottom of your screen.
The label will be displayed, and you’ll be able to print it. In case your shipment wasn’t printed yet, you can select it in your list and click on Print Labels for selected shipments.
-
Export to UK, NO & CH
Sending a parcel to a country outside the European Customs Union (United Kingdom, Switzerland, Norway) is just as easy as sending a parcel within the EU. It only requires additional information needed to fill out DPD Shipper’s customs fields. As an example in this Dutch video, we explain what needs to be filled out to export a parcel to the UK flawlessly.
Important! Some fields in DPD Shipper are marked as optional while they must be filled mandatory. See all mandatory fields in this overview of mandatory fields.
For complete specifications and handy links for exporting a parcel, see the following Dutch Manuals:
-
Request a pick-up
To request a pickup of parcels you need to create a pickup order.
To do this you click on Pickup orders → New pickup order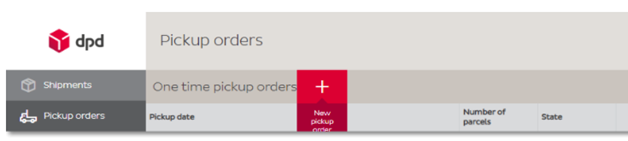
In the next screen you have the possibility to choose a pickup date and number of parcels.
Attention! You can only request one pickup per date, so try to make sure you enter the right number of parcels.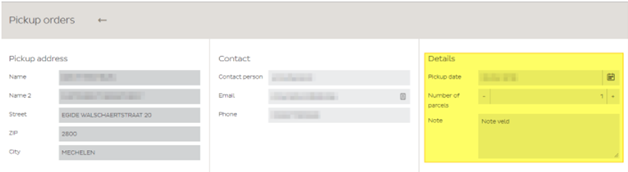
If all information is entered you need to click on “Next” on the bottom of the page, and after verifying everything on “Save”.
After saving the pickup order you will return to the overview of all your requests. The state indicates if the order is confirmed or not.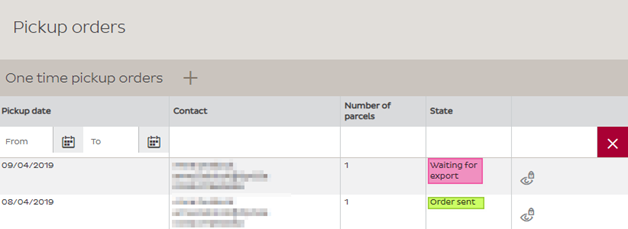
If you do not see your pickuporder in the list there probably is a filter active. Click on the red X to remove all filters.
-
Daily procedure
After creating your shipping labels, it is necessary to go through the daily procedure. This is to guarantee smooth sorting and delivery.
For the daily procedure for shipments, click on “Daily procedure”.
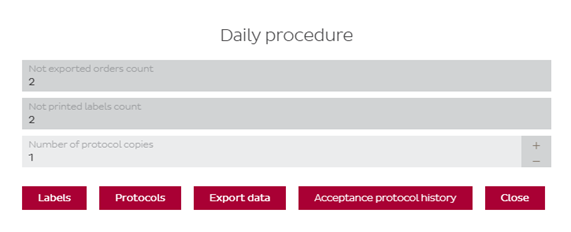
In the popup window that opens you will see the following buttons:
Labels – Print all labels that have not been printed before, this function is especially useful if you print 4 labels on an A4.
Protocols – Generates a shipment list for your records AND sends the data of your shipments to DPD
Mark all Collection Requests as ready for export – Forward your CR requests to DPD
Acceptance protocol history – Provides an overview of previously printed protocols
By clicking on “Protocols” you send the details of your shipments to DPD, please always perform this step after creating shipments.
Doing this will change the shipments color to gray. You can use the legend below to check the status of the shipments:Red / In preparation – Shipment has been registered but the labels have not yet been printed.
Blue / Labels printed – Shipments labels were printed but the data was not yet sent to DPD
Green / Prepared for delivery – The protocols are printed and the data is transferred
Gray / Order sent – The data has arrived at DPD

-
Collection Request
Collection request is a special procedure shipment. It is the request to transport the parcel from one place to another.
To add new Collection request navigate to Shipments → New shipment order & thick the Collection Request check box
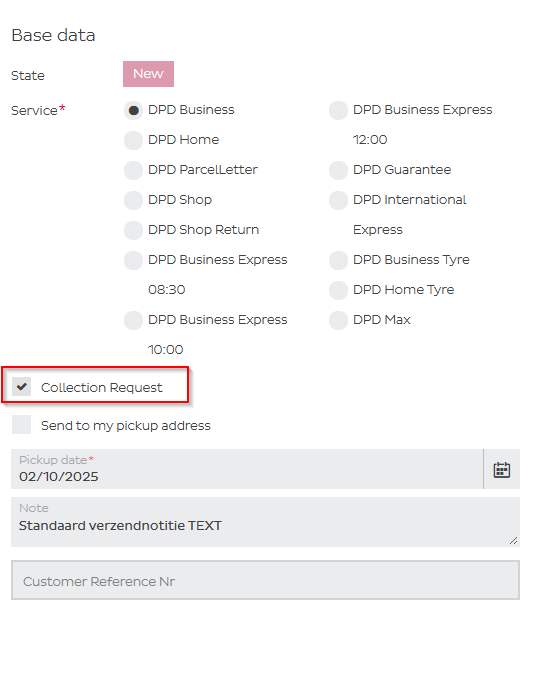
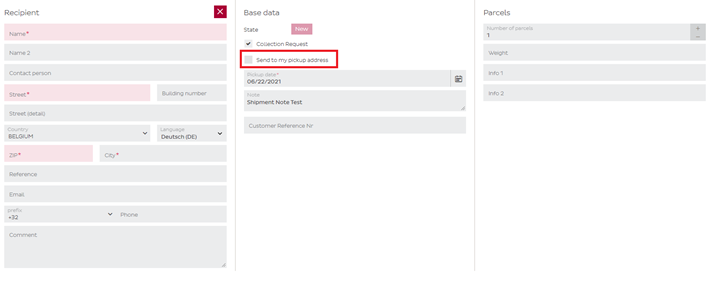
The mask for adding collection request details opens. If the recipient address has to be same as the actually selected pick up address, thick the check box Send to my pickup address, if the address for delivery has to be different, add mandatory details into recipient fields. To specify Collection Request sender, add details to the Collection Request Sender mandatory fields.
You can give your Collection Request your own reference in the Customer Reference Nr field, but keep in mind your reference should not contain slashes (/) or periods (.)
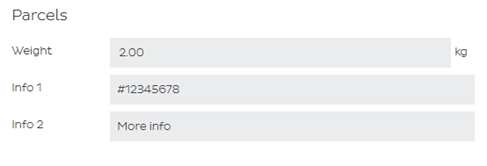
In the Parcels segment, you can enter the weight and two info-fields. Info fields are not mandatory, but if they’re used, please note that Info 1 must always start with a # sign. Info 2 will not appear on the label, but will be shown to the drivers MDU device.
Click Save to save the collection request to save your shipment order or click Save & New to save the shipment order and open new empty shipment order.
Please note that after making a collection request, you will not receive a label. This is not needed, since the DPD driver will take the label with him himself.